Showing posts with label lamps. Show all posts

Sunday, February 23, 2014

Our New Backyard: Outdoor Kitchen Counter

Hi Everyone!
One of the excuses I have for not blogging for so long, is that we bought a brand new house in September 2013. We have been moving in and getting settled for 4 months now. With my birthday, Thanksgiving, Christmas, New Year, etc., we have had a lot of interruptions, but we are slowly getting there..
 
Today I want to show off our DIY outdoor kitchen and the awesome light Hubby made to go with it.
 
We bought , shall we call it a shell for lack of a better word, for the counter area. Craigslist. It is made out of polystyrene, covered with cement,  hollow inside, and looked like this;


We could cut openings  where we wanted them, and put on a finish we liked.
So, my husband and one of his friends ,Lou, cut two squares in front, for cupboard doors,  and a square on the top left of the counter for the charcoal BBQ to go in.
 
Lou and Ann are our friends from San Jose, CA, who came to visit for the weekend of my birthday. Boy, did we put them to work! LOL! No, seriously, they were a great help. They might never visit us again, but I'm glad they were here to help us. Lou built the frame and poured the cement for the floor during Thursday while Niel was still at work, and Ann helped with the planting. ( A lot). 
  Ann, in our bare backyard.
  Lou, making the floor by flashlight! 
  Haha! He thought he could stop because it was dark, but Ann and I grabbed the flashlights and put him back to work!


On Friday, Niel and Lou built the cupboard doors, and lay the tiles on the counter.
 

My birthday party was on the Saturday, and we could use our new "kitchen" for the first time!

It wasn't done, but we loved it. 


I have the perfect door handles for these doors, but since it's Niel's project, I guess I will have to nag him wait until he warms to my idea. Looking at this picture, I realize I will have to age the hinges. They are way too shiny!
We both agree that the doors need to be stained a much darker brown. (Yay!)


I had several ideas for the finish, but in the end I went with the quickest, most affordable option;  I painted it with Modern Masters' rust paint to look like rusted metal. I talked about the product here.
 It is still a work in progress, but here are some more pics....
 
Notice the plug? Yep, they even did that, too. No need to get nervous for my sake...Lou used to be an electrician , so he could make sure we did not blow something up in the process.  :)

  I need to find some way to make the edges more finished; I thought of corner steel or wood painted to look like steel....not sure. Any ideas?


We found  the old railway tie many years ago , abruptly brought it home, then had no idea where to use it. Now it works perfectly as a footrest!
 
 Notice the brand new gas barbeque? Hubby jokingly said he bought it for me for my birthday. So I've decided to jokingly give him a boob lift for his birthday! Ha!

                           I got the Barstools  off of Craigslist too.
 

 I love that it even still had some kind of metal tag on it, too. It did not come with the bird poop. That is courtesy of the Crackels , who, for some reason, love my bar!
 
I know...the wood needs something...either darker stain, or metal rust, too.
 
 
Notice the lamp/ tree at the end of the bar? I'll tell you about it:
Hubby said he had an idea of what he wanted to do for a light at the bar and barbecue. I have to admit, when he explained it, I was not overly excited. I could not picture it.
 
He found an old dead tree stump in a dry riverbed ( does Arizona have any other kind? ) near our house. With a dremmel he made a small groove in the stump, to hide the electrical cord. See? It looks just like a crack in the wood.


 He also planted the piece of stump in cement, to make sure it is sturdy.
 
 
Then he used one of my thrift store lanterns that was supposed to hold a tea light candle.
 
With the light kit from another old , soon to be discarded light, voila! We now have an awesome, homemade, rustic, looks like we are camping, but most importantly FREE outside light at our bar!


I LOVE it! It is most probably my favorite part of the bar!


Notice the "bug" flying  in the top picture?
It is actually a humming bird. We have a feeder right there at the window, and love watching them drink while we drink. Hah!


This has become our favorite spot to hang out. Even when its just hubby and me. He sits behind the counter, close to the little bar fridge behind one of the wooden doors, and I sit, or hang, like a regular bar fly on the counter!
 
Gorgeous Arizona sunset! 
 
Until next time, have a great week!
 
 
Bye for Now!


Joining these parties:


Monday, October 24, 2011

Ugly Light Fitting Repurposed


You all know and have seen these old ugly lights at Goodwill...they are a dime a dozen everywhere.
I bought two a veeeery long time ago, thinking I could make cool chandeliers out of them...

This was the one after my (unsuccessful attempt).

It used to be one of those copper colored lights with the glass shades.
I turned the "arms" up, sprayed it ORB, and added little black shades.
Somehow it still did not do it for me, so back in the closet it went, for about another year. 

When I saw what this very clever gal from Dreaming in Color did with her old light fitting, I just had to try it, too.


With the help of some blue spray paint, Gorilla Glue, and my grandmother's little desert plates, I transformed it into this....


The little bowl on the top is not glued on, so that it can either be used to hold mints, or teaspoons, or it can be removed to just use the plate underneath.

 And here it is with some yummy Baklava snacks...
The fake pearls just add a touch of whimsy.


Hope you like it!
Happy Haunting!


Joining all these parties

Wednesday, October 13, 2010

One Hour Makeover

Hello Ladies!  (and Gents, if you are out there)

  It seems the weather in Phoenix just made us all exited over the cooler days, and then changed again, so that we are still having temperatures in the high 90's. Arrggh!

OK, that takes care of the small talk!


Do you know what these items have in common?

 Except that they are all dusty and in my garage...


OK,..... you know me too well! Yes, they are all thrift store finds....and all  a dollar each, on Dollar Day.

The brass lamp and bowl got sprayed with Oil Rubbed Bronze....

Primer, like safety, ALWAYS first. (or in my case, 85% of the time)


For the shade I was planning on using a black,decorative ribbon on the edges and seams, but after seeing someone"s* post on how they used a sharpie to put black accents on their lamp, I thought that was a much better, quicker, and easier idea.
 I ended up using the ribbon to make monograms on the sides of the shade.
Just formed the letter with glue, then stuck the ribbon on!

This is what it looks like now...

Uhm...I know you will be a sweetheart and pretend you don't see the ugly cord...

The brass bowl is now ORB, and the other bowl I left as it was...

What do you think? Not bad for a few dollars, right?

Please comment, so I will know I'm not talking to myself here...

Love,
                                                        Suzanne

* I thought I was sure that it was on Marty's blog, but now I can't for the life of me find it. Marty, if it was you, please help! Or if any of you remember seeing a post like that, or maybe it was even you...PLEASE let me know!


Thursday, September 30, 2010

There Once was an Ugly Brass Light

Happy Friday, Everyone!!!!

  Hope yours is great, and filled with creative moments.

OK, so , a few months ago I did not even know a word like  "cloche" , and now I'm making them out of light fittings?       WHAT NEXT, PEOPLE???!!! 
All I can say is..... ya'll inspire me.

BEFORE


I found this old brass light at Goodwill, of course (we don't have any other cool thrift stores close by), and turned it into this.....

AFTER

.
And now I have to say I'm sorry once again, because I forgot to take pictures of the "during".
Hey! At least I got the "before" and "after"!

Truth be told, there are not that many steps anyway.

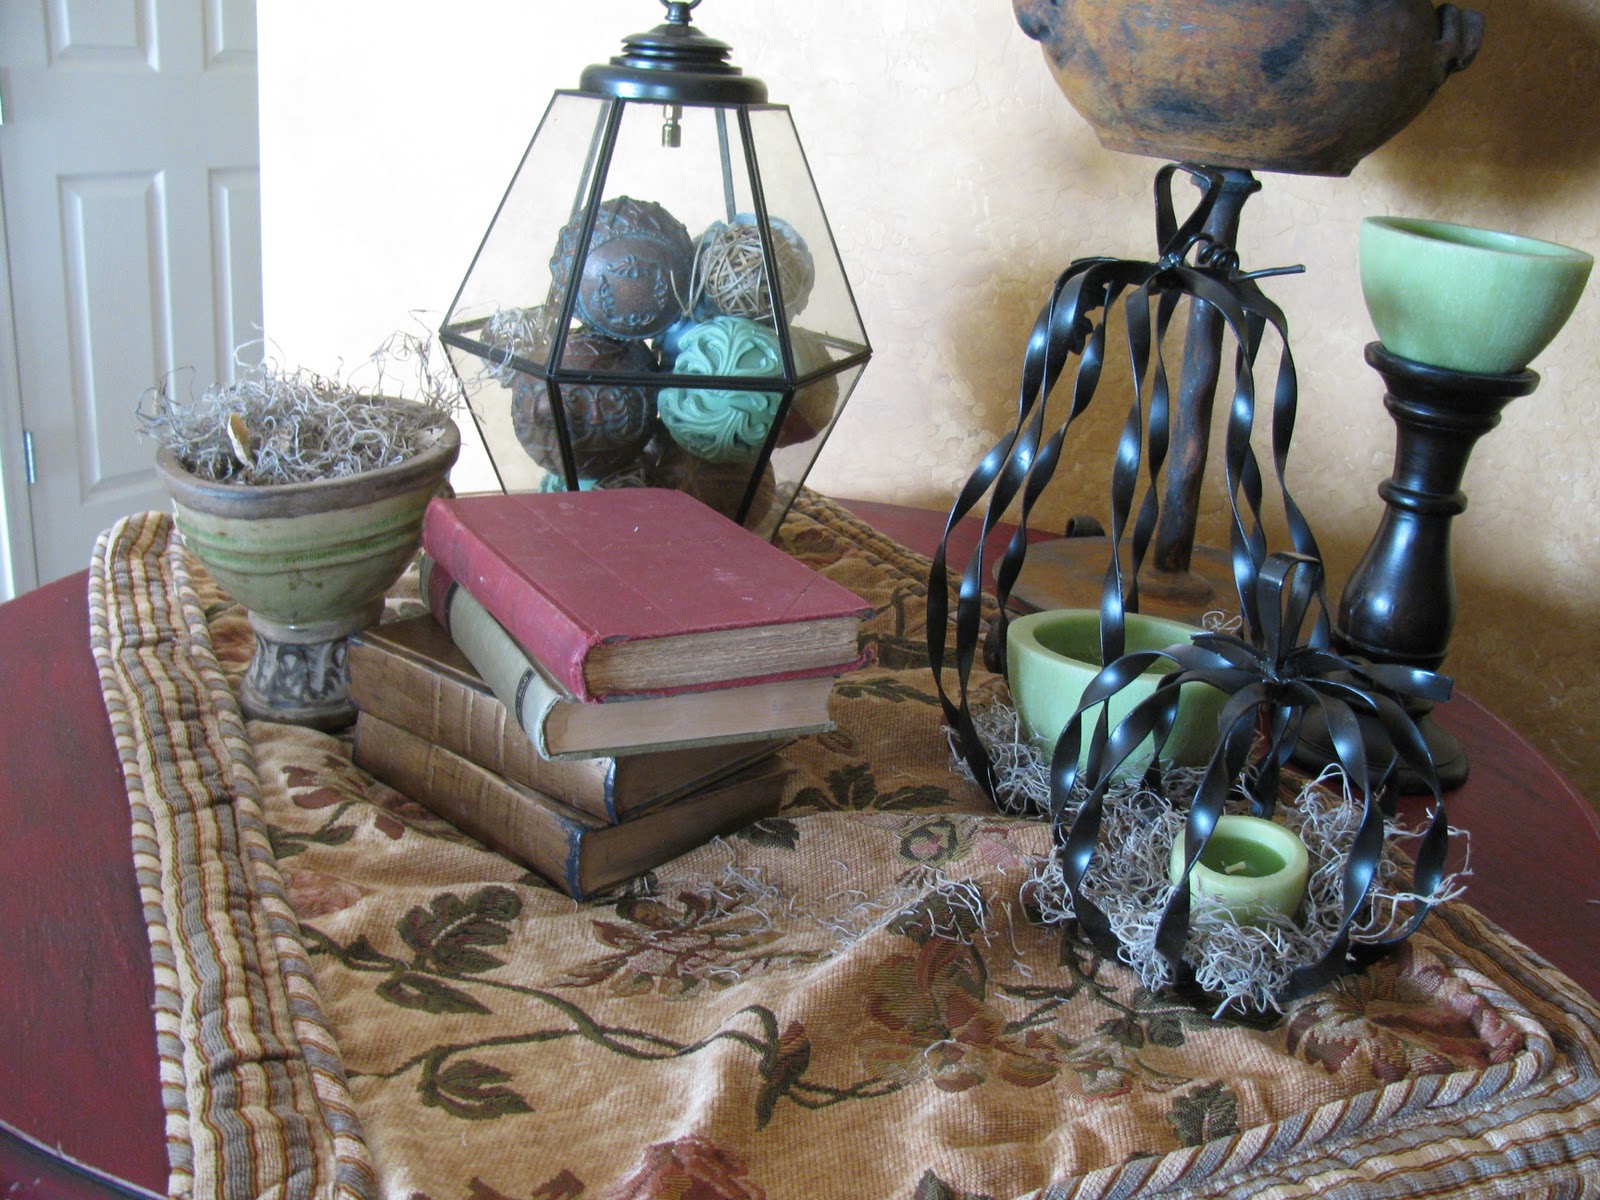
I pulled all the electrical stuff out...basically the whole "light" part. Took the chain off, and was left with just the glass shade. I  used the brass ceiling medallion and other fittings and stacked them to sort of make a "handle" on top.
Then I just taped the glass with painter's tape, sprayed with ORB (Oil Rubbed Bronze) and that's it!
           A Cloche!....Sort of....


 Now that I see the pictures, I realize that extra piece of bolt inside is more visible than I thought.        Wonderhusband says he will help me get rid of it.

 Filling the cloche was more of a challenge than making it... I finally just collected all the decorating balls I had and stuffed them in  there. That will have to do for now until inspiration strikes again. (Read:  until I can copy one of your pretty ideas.)


On the table with some other Fall stuff.


The "throw" is a pillow sham from Goodwill btw. I think it is so pretty!

Do you remember my lamp shade redo ? 


And........one last look.

What do you think? I know that at least a few of you have done this too, so tell me about it.
What did you do with the extra hardware..like the bolt that is now sticking out like a sore thumb?

You know I love your comments!

Suzanne

Joining these parties:

Frugaliscious Friday at Finding Fabulous
Show and tell Friday at My Romantic Home


Chic on a Shoestring Decorating


Funky Junk's Saturday Nite Special