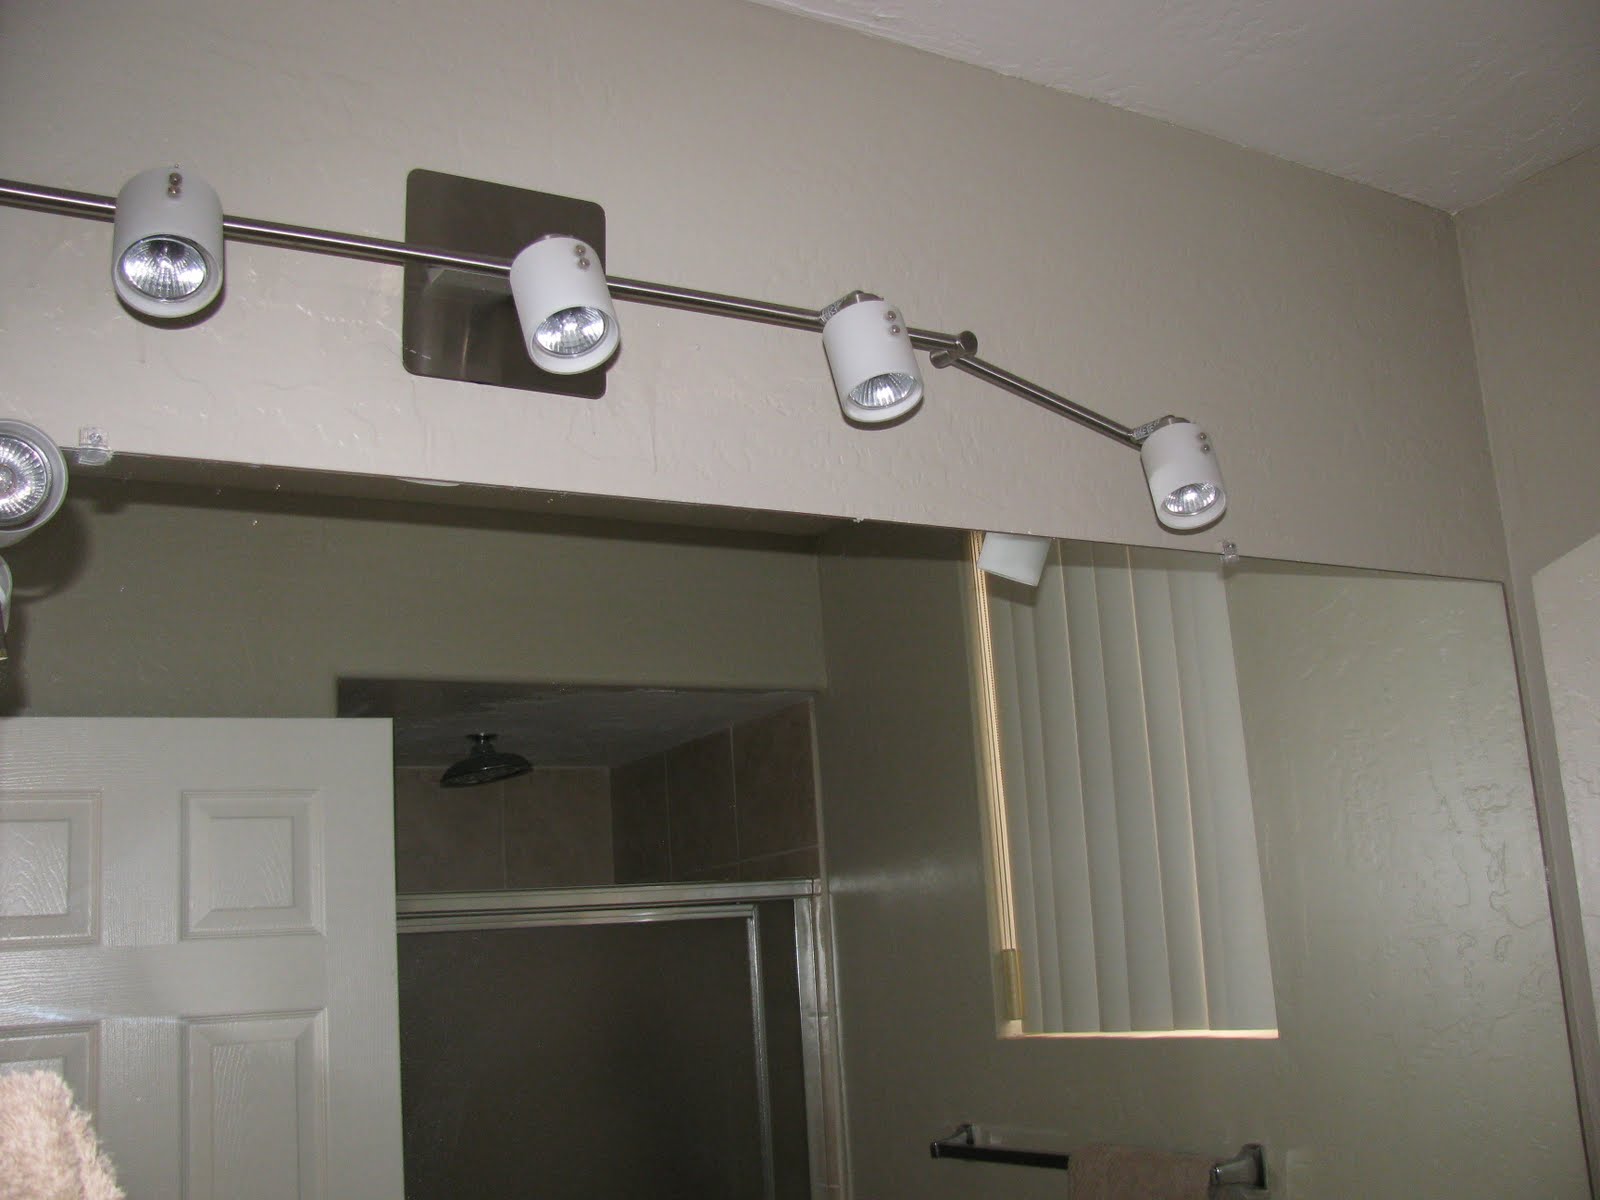
Showing posts with label bathroom. Show all posts

Tuesday, February 5, 2013

Breakfast at Tiffany's

Hi There!
Well, its about time I share the long promised "Breakfast at Tiffany's" dresser...
I saw the little dresser at Goodwill one day, and fell in love with the shape. I knew exactly what I was going to do with it! There was just one smelly problem....it smelled bad! Really bad. I don't know if it was just smoke, or a combination of dampness and smoke, but that smell would not leave...
I took out all the drawers, sprayed it with bleach water, left it in the sun for more than a month, but no improvement. I tried baking soda, vanilla essence, more bleach, more sun, more spraying with the hose...still stank to high heaven.
So, I decided to just try Kilz primer...painted on, not sprayed. It worked! Not a smell ... yay for Kilz!!!
Ater priming, I painted with a sort of seafoam blue I had, and then used my projector to project an image of Audrey Hepburn onto it. The rest was filled in with small brushes and black and grey paint..


Ta Da!!!!

I love love love this look! But I have a confession to make...
It was not my original idea ...I stole this from Deneen at Dreaming in Color . Only she is a real artist, and did not need a projector.
But ever since I saw her sweet little dresser, I knew I wanted to do something like it.
She is very talented, and her blog is choc full of inspiration. Go stop by her blog and tell her I sent you...     ;-)


Do you want to have another look?


 The rounded corners looked sort of retro to me...


 I lined the drawers with wall paper I had.


Hope you liked it!
Happy Thrifting!

Suzanne
xoxo

Linking up with:
Metamorphosis Monday

http://diyshowoff.com/category/other/that-diy-party/" title="DIY Show Off">http://i899.photobucket.com/albums/ac195/Roeshel/thatdiyparty125button_zps360f71b1.jpg
" alt="DIY Show Off" style="border:none;" />Read more at http://diyshowoff.com/2013/02/10/that-diy-party-3/#T5TU8ztmkuLZw15Z.99 Keeping It Simple


Sunday, August 19, 2012

Summer Projects:

Hi Everyone!

I know I have been MIA for a while now, but I have a good reason. I visited my home country and family in South Africa. For ten whole weeks! That's right, 10! But just in case you thought I just sat on my behind and sipped wine, you are wrong...
Some days I sat on my behind and sipped wine, and other days I transformed furniture and sipped wine.... so there!
Yep! My sisters made me earn my keep... (but you know I did not complain about saving old, neglected furniture from the dump!)

Look at this piece for instance: was once a built in kitchen cabinet, then stuck in the laundry, and eventually in the garage, where, as you can see, it had been used as a handyman table.

Old Built in Transformed to house a Stereo


My sister needed a place for one of her twin 16 year old sons' stereo, so we went to work on it. I liked the look of the sanded wood on top, so we just sanded it thoroughly (with NO palm sander available, I might add), and waxed it. We painted the body with homemade black chalk paint, and wiped a little brown stain over it, to give some depth to the mat black color.  After distressing the edges, and  adding wheels and funky hardware, this piece was transformed into a very cool, industrial look entertainment center any teenage boy can be proud of.

Don't you agree? And yes, I know the handles are different sizes. And no, it was not on purpose, OK? After we had drilled the holes and attached them, we stood back proudly to view our handy work, and  broke out in hysterical giggles when we realized our  mistake....
Then we decided to just pretend it was meant to be that way.


Old Bathroom Cabinet transformed
This little cabinet was brought home from the farm, and was stuck in storage for forever.
We had specific  plans for it, but it knew better....


When we started to sand it down, all these lovely layers, added through the years, were uncovered.
Then we realized that the door was not real wood, but supa wood...and, soon after, while I was sanding my heart out, the door fell open, slammed on the ground, and the mirror broke. This is when we decided to just go ahead and take the door off.

The lovely blue color on the inside, was left just as is...

..and just check out all the wonderful old layers...blue, green, yellow and white.
We did not bring a paintbrush near it..this look was achieved just by sanding!

It is going up as a shelf in her powder room.
Love it!

See ya soon with more Summer projects!


Monday, March 5, 2012

Pine Cabinet Reinvented

A Big Dream of mine has been realized....At last an antique mall opened in our city...a mere two blocks from where I live!
But that's not all...Yours Truly put her big girl panties on and GOT A BOOTH THERE!!!!!!
omg!omg!omg! What was I thinking?!!!
(Deep breath)
Ok, first of all, I'm not all by myself in this. There are three other very talented and creative ladies sharing the booth.
It all happened so fast! On Thursday my friend, Stacy, called and told me about the new antique mall , The Brass Armadillo,that opened up near us, and she wanted to know if I was interested in sharing a booth  there. Uhm...heck yeah! We went and looked, picked a booth, and on Friday we signed for it...Her mom, and another friend who has done this kind of thing before, is renting it with us.

Today I started working on a few outstanding projects, to stock our booth.

I bought this little pine cabinet like this...

I sanded a little, and took the panels out of the doors. (it looked like a previous owner added them later, anyway)
I used my homemade version of chalk paint, painting the body in a Aqua color and the door and shelves in white.
Then came the sanding, distressing,and glazing.

 And of course some chicken wire to fill the openings in the door...


Hopefully it looks like a really old piece from an old farmhouse or something.


I think I would have bought it if I saw it in an antique mall, wouldn't you?
If you live in Phoenix, come stop by the Brass Armadillo in Goodyear!
You won't be disappointed!

Bye for now!


Joining these Parties

Sunday, July 31, 2011

Elrie's Bathroom Makeover

My friend Elrie asked me to help her fix up her guest bathroom a little. It only had this one basin with a cabinet underneath, a toilet, shower, and, of course, the huge builder grade mirror.

 The cabinet looked old and worn from too many hot showers and steam.
 The huge mirror and generic towel rail did nothing to make this space look special.
The first thing I did was to remove the mirror. Luckily she still had some of the same paint left that they used on the walls, and we could fill in the unpainted space behind the mirror, as well as other nicks and holes.
I liked the color...something between a taupe and a moss green. Very subtle.

We replaced the mirror with a smaller one in a dark brown frame.
Looks much, much better, don't you think?

I also added a little shelf that I had bought at Ikea a long time ago above the toilet.
It still needs a frame, picture , or something above, but we are still looking for that. I don't believe in just rushing out to buy something when it comes to accessories. I will be keeping an eye out for the right item...I'm thinking something metal, in a rusted look, maybe.
I had been wanting to try the "Cabinet Transformations" kit by Rustoleum, and this was my chance...
I chose the Espresso Brown, to go with the other dark brown wood pieces in her home.
Teh kit has everything needed for the transformation: deglosser (no sanding, yeah!), scrubby sponge to apply it with, color, glaze, and sealant. I just had to buy the brush to apply the paint.
 Now this looks a 100% better than the old cabinet, don't you think?
I did put the glaze on, even though the effect is subtle, it just makes the color come alive..
I also added door knobs.  I think it makes it look more classy.
New toilet roll holder...
..and towel hooks in place of the bar, and it looks like a brand new bathroom!

Sorry , I tried getting the whole bathroom in the picture to give you a better idea, but the place is too small, or my camera too cheap, to achieve that.
O, and guess what? All of the accessories, eg towel hooks, toilet roll holder, door knobs and mirror, were bought at...Wal-Mart!


This is what I'm working on now....


Come back to see the end result!

Love,
Joining all the parties on my Parties Page...

Thursday, October 7, 2010

Bathroom Improvisations

Hi There!

I thought I would show you some  improvisations in my bathroom today.This is very brave of me, since these poor walls have not even seen a lick of colorful paint yet...
    I can't even say that bathroom  is  a work in progress.  There's not much going on right now but there are a few clever (in my book, anyway)  ideas that I can share with you.

A year or so ago I got this plate stand at Goodwill. I liked it because it was different from the regular tiered stands, and would work perfectly for what I had in mind.


I also had three of these plates, with different designs of shoes on them.

Put together, they made a wonderful catch-all for perfumes, and jewelry.


Another temporary "fix" was this:


Before I learned about the cheap and easy way to frame these huge builder grade mirrors , I just hung a big picture on the mirror to break up the "vastness" of it.
Since this was a do-it -yourself-in-5-minutes kind of a job, and I was neither equipped nor inclined to drill holes in the mirror,
I hung it from a hook on the wall, with a black chain that used to belong to a light fitting.

I really liked it, but now that I know how to, I am soon framing this mirror out too.

Oh, and PS, did you notice the quilt hanger in the reflection?
It will also someday get a makeover, since it is serving as my towel rail now. I'm seeing some ORB in its future.

OK, then! Do you have any such improvisations that you can tell me about?

You know I love hearing from you!

*Suzanne*

I am joining these parties:

Chic on a Shoestring Decorating


Funky Junk's Saturday Nite Special


Photobucket
BWS tips button