Happy Halloween to you, happy birthday to me, and happy sugar hangover to whom it may concern. ;-)
I can't wait to show you my latest project....
My dear friend,
Kim gave me this handmade farmhouse table , chairs and bench. It reminds me of the Neil Diamond song, "
Morningside"...
Only this old man did not die and he did not carve "for my children" on it.....
But I do know that it was made by hand by the father of a big family. After several years of good service, he passed it down to another big family (I'm talking like 7 kids, big), and then finally to my friend, Kim, who currently has 5 children, all ten and under. They used it for a few years, until, finally, a couple of months ago, some of the chairs and even the table started showing signs that it was ready to retire...parts of legs and backs started breaking off, etc.
OR....it was just in need of some serious TLC.....
I had to use some paint stripper on the table, because I wanted a natural look on the top.
Let me tell you, cleaning these babies was no joke. Just imagine twelve years, 20 children, and lots and lots of meals...
There was so much food stuck in every sneaky corner, I'm telling you, it could keep my entire family alive for quite a few months in the event of a Zombie Apocalypse...or something.
I must have contemplated this aloud, because I'm not sure, but I think I heard Hubby mutter something about feeding my brain to the Zombies instead, since I'm apparently not using it anymore...
I could not quite get rid of all the marks, but that's ok, since I still wanted a rustic look.
Since I actually remembered to take pictures during the process, I can now tell you step by step what to do to get the result.
- First, clean, of course. We've covered that. No excuses about Zombies, etc, allowed.
- Sand all the pieces lightly.
- See that it is going to take forever. Try to guilt hubby into helping.
- See that its not working.
- Wonder aloud why you married him.
- Say "nothing" when he asked what you said.
- Try a different approach. Ask for a new palm sander.
- Get said palm sander.
- Hug hubby. Say your mother was wrong about him, after all...
10. Using yellow acrylic leftover paint, paint the sides or random places yellow.
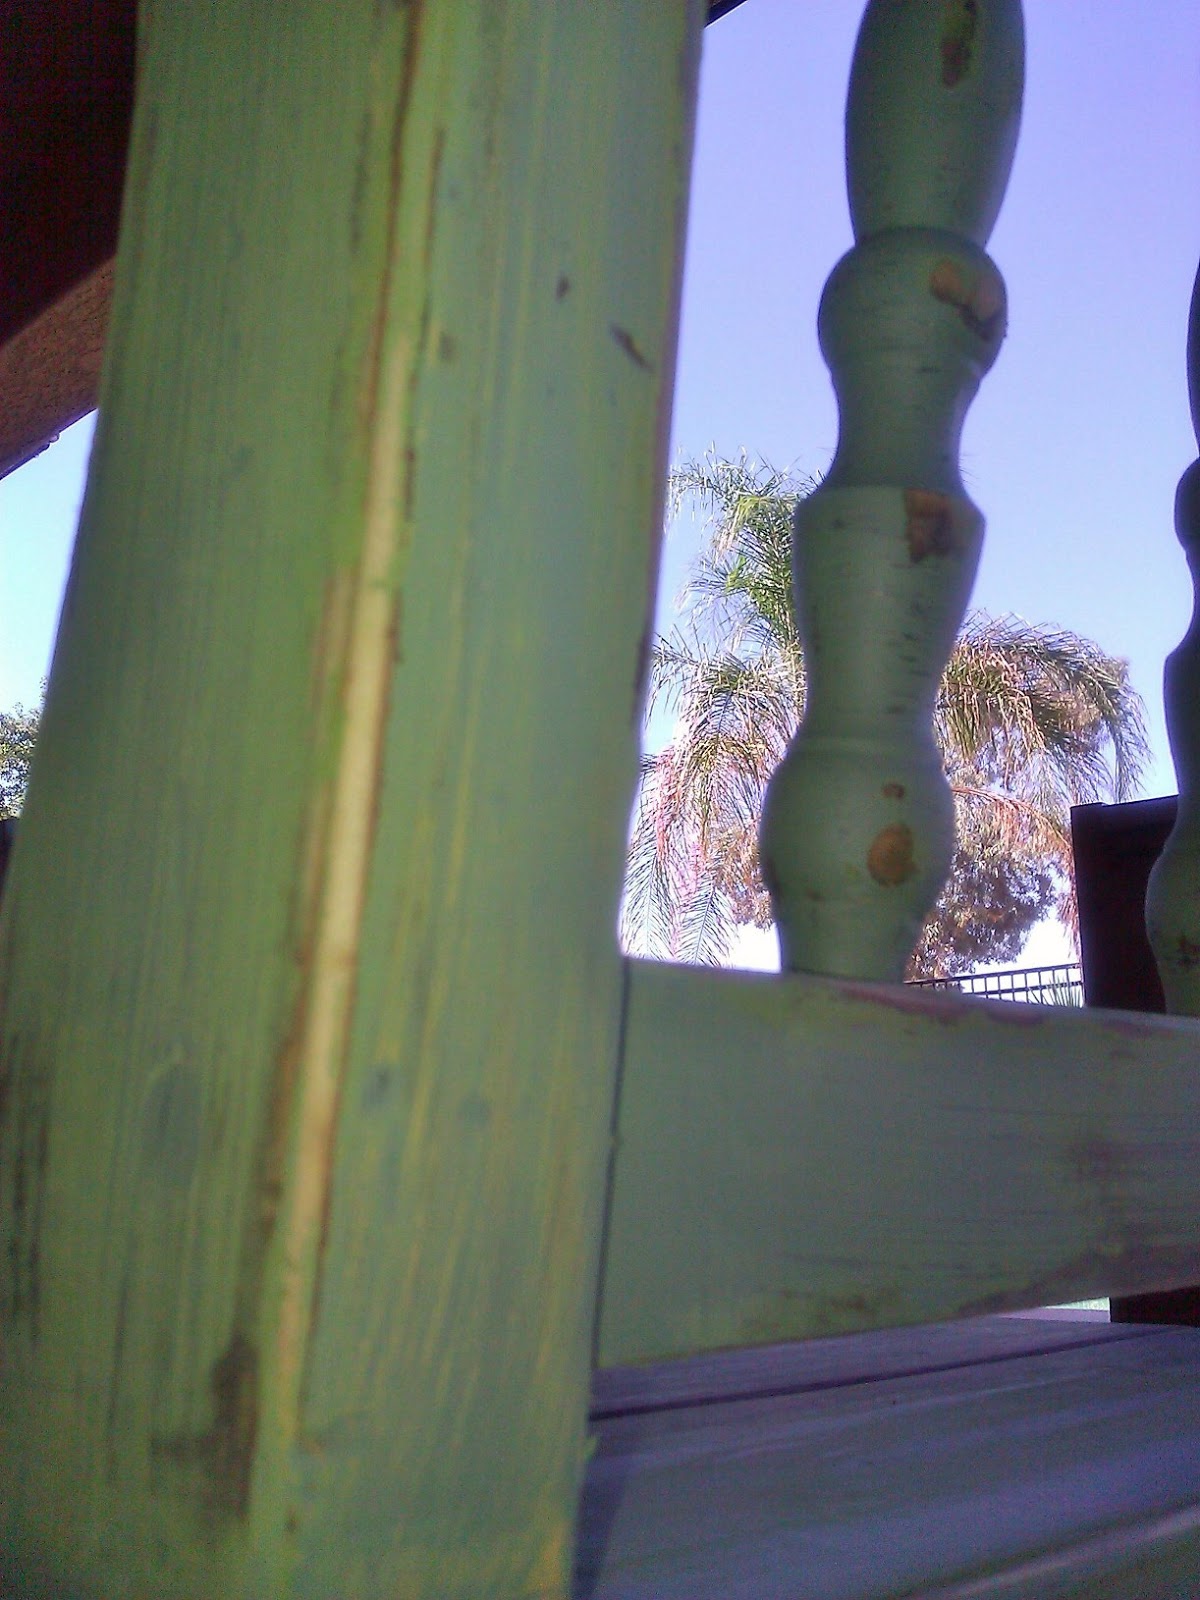
11. Let dry, and paint everything a light green, or color of your choice. (In my case whatever I have)
I painted a rather thick and sloppy layer with a brush, since I wanted it to have the look of several, old layers of paint, added through the years.
In other places, I did not even bother to cover 100 % with the paint, since I was going to sand it down again, anyway.
12. Wait for it to get dark... (ie. nighttime, not the paint.)
13. Get out trusted Tracer Projector, and trace image of choice onto table.( I did a google search of cafe signs, and traced it with a black permanent marker.)
14. Use small brushes and black paint to fill in the letters. ( I used yellow for the shading)
Remember that this was done on a bare, sanded table.
15. Next day, sand over the letters lightly, and stain whole table top with Minwax Dark Mahogany.
Nice, right? Now back to the chairs and bench....(I'm stopping the numbering of steps, there seems to be way too many) LOL.
After the paint has completely dried, distress by sanding the edges and corners, etc.
See how the yellow shows through in some places?
Just what I wanted...
After this, I applied a little bit of stain over the sanded areas with a brush, and wiped it off immediately after.
A little dry brushing with stain in the corners makes it look nice and old.
AND....VOILA! My new table, chairs and bench!
I know...I really have to work on my photography skills....and staging!
I love how this turned out.
A layer of Min Wax Polycrylic sealer was the last step,to protect this little set for many years to come.
Let me know what you think, and
Happy Thrifting!
Love,