Showing posts with label decoupage. Show all posts

Tuesday, April 9, 2013

Faux Pewter Desk


Hi Girls! (Guys, Dudes, Peeps, Friends, Ladies, and Gentlemen)

I know I promised I would post about another French desk next..but you know better than to believe me by now, right? I also said I was going to stop saying the F word on occasion, drink less wine, eat less, and work out more. Bwhahahaha!
Although, I did join CrossFit and am going three times a week, and it turns out I love it! Who knew I was such a masochist ? LOL
One of these days I will be posting pictures of me in my bikini showing off my muscles...
Don't worry! Just kidding! (maybe..)

This is yet another desk, and I am using my standard before picture, because, well, they all look like this more or less...
And yes, I totally planned it this way. I did not forget the before picture...
 
I have been drooling over these kinds of pieces at Worldmarket..

So, I decided to combine the two effects and ended up with this:
I had some trouble with getting the wood part exactly like I envisioned, and I settled for this look, which almost looks like rusted metal to me.
I know, the more professional furniture transformers out there would have practised on a small piece until they got it right, but as our own dear Miss Sweet Brown so
 aptly put it : " Ain't Nobody got Time for That!"   LOL.

 For the drawers and top I used the last of the textured wallpaper that bought about 8 years ago at Lowes. What a great buy that was!  I really hope I can find some more somewhere. It has the look of ceiling tile, don't you think?
 Of course it was white when I put it on, and I  primed and sprayed it with Rustoleum Metallic Silver after the glue had dried.

Then I painted on some charcoal tinted glaze, and wiped it off with a dry rag. ( I'm guessing son no 2 won't be wearing his "holy" underpants again..lol)
 
 It really gives the impression of pewter, don't you think?
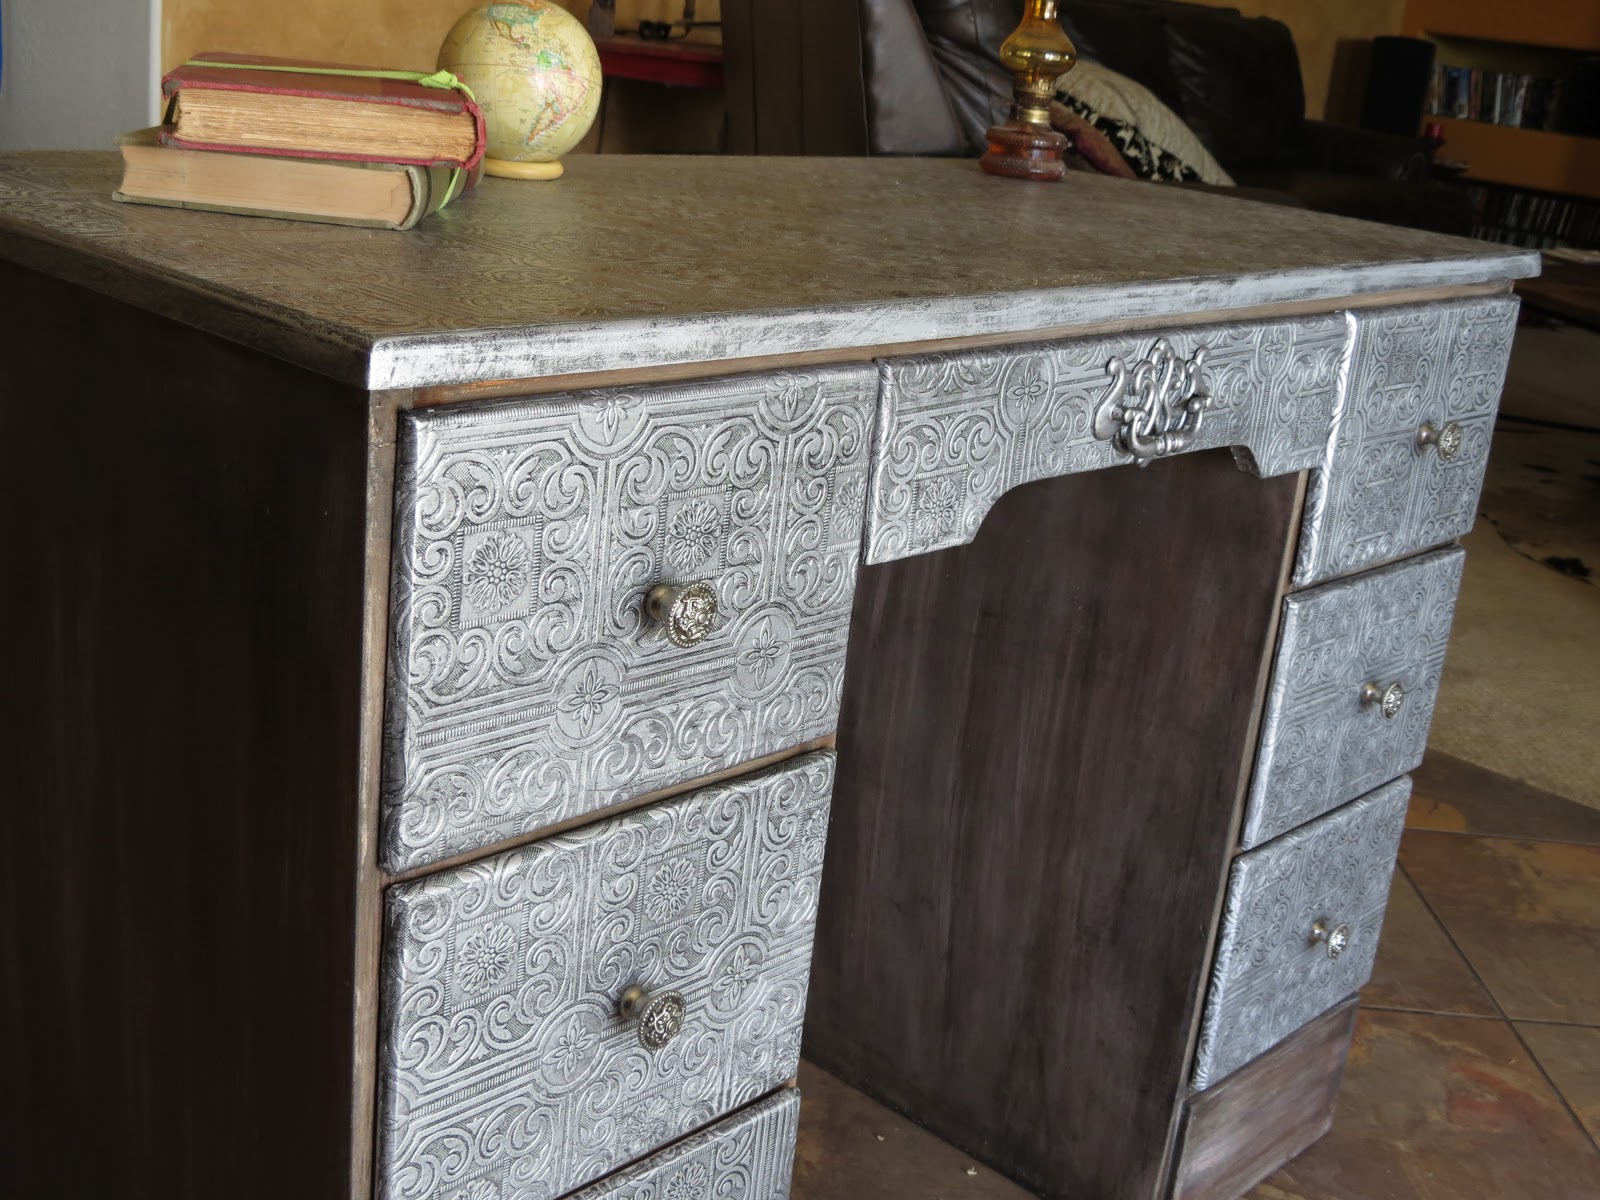
 
 The knobs are from Hobby Lobby. At less 50% they were almost as cheap as buying a mish mash at Habitat Restore.

For the middle drawer,  I used an old pull I got off another piece and just painted it to match.
 
 
Of course I sealed it all with a couple layers of MinWax Policrylic.
 
I have to admit that I am really pleased with the end result...
Won't mind keeping it for myself...
 
Ok! Let me hear those comments!
Love
Suzanne
xoxo


Thursday, March 7, 2013

You've got Mail...(from France)

Hi There!
In Phoenix, Spring has sprung...or should I say "Summer's here! Bummer!"  I actually had to turn the air on yesterday afternoon! It was 83 in my bedroom. Between that and the hormones, I was spending a big portion of the day on my bed, under the ceiling fan, doing "research" . ( checking out Pinterest)

Anywoo...check out my latest desk... I just sold it this morning to the sweetest newly -wed couple.
 
It started out as a regular, brown wood desk, with those "swirly" brass handles.
 
 
Now, if you are one of those "teacher's pet" kind of readers, who always notice little discrepancies, then, yes, I know, the dresser in the before picture's feet are different than the one in the "after" picture.
There is a very good explanation for that. The reason is, that I cheated. This is actually a "before" of another desk I did a couple years ago..
Because I forgot to take a before picture of this one. Because I just can't seem to make myself remember these things. Because I get too excited once I start working on a piece...because I'm pre- menopausal...whatever!
 
I was itching to do a piece with some French postcards, or stamps, or mail. So, I googled some stamp images, and decoupaged them on. I used a dinner plate and salad pate as templates for the round stamps., and I freehanded the written parts.
 
 
The top three drawers were modge podged with fabric I got at Goodwill for a steal probably  two years ago. Yes! Can you believe it? It is coming in handy now with all things French being so popular  these days.
I was going to modge podge the top with the same fabric, but once I sanded it off, it looked so nice, that I just stained it in Ebony.
A word of warning: If you put the stain on the desk to take a picture, remember to remove it again before you lift the side of the desk to paint a leg..Failure to do so might result in the stain being splattered all over the floor..
Just sayin...in case someone is so..uhm "forgetful"
 
 I love how rich it looks.


Of course I changed out the drawer pulls, but I bet you can't guess what these were originally..
They are curtain rod ends (or finials)....bought at a thrift store for a buck a pair!
 Worked like a charm!

One last look, and tell me what you think...


Next week I'll share another desk I did with the same fabric.
Until then..
Happy Thrifting!


Linking to:
Time Travel Thursday
Metamorphosis Monday

http://www.alittleknickknack.com/" target="_blank">http://i166.photobucket.com/albums/u87/auntdoi/knickknackbuttonpartybutton.png
" />


Sunday, October 21, 2012

Super Hero to the Rescue

 This post is long overdue...It seems I am only creating, and not blogging these days. I just have so many ideas swirling around in my head, and I want to do all of them now. 
I'm sure you know the feeling.

I found these chairs and table at my local Goodwill a couple of months ago.
I liked the chairs especially. They were sturdy and retro looking. 

I had plans to do something along the lines of what I did to this bench
 in this post , but then I started thinking about all the super hero movies that are out right now, and I got to thinking. "What if I Modge Podged the table and chairs with some super hero fabric?" But, alas, I couldn't find any such material here in the West Valley at that point.
(Of course, about two weeks later, there they were...4 different rolls of Superman and Captain America!)


So, I did the next best thing... I went to the local Comic Store, and bought a few of the older comics that were on sale.
After I primed and sprayed the legs black, I proceeded to decoupage the rest in strips of comics.


It took forever, but I had sooo much fun doing it!.
The middle of the table is chalk board, painted with homemade chalkboard paint.The recipe I used is :
11/2 TBS un-sanded grout
1 cup acrylic paint in the color of your choice.
Remember to prime the chalk board after it is dry, by covering the whole board in white chalk paint, and wiping it off again.


I'm sorry I did not take more pictures of the process....I have no idea why I didn't.


Well, I hope you like it, and are inspired by it.
Happy Thrifting!
Joining These Parties:


Thursday, September 20, 2012

From Toy Chest to Shipping Crate

Hi Everyone!
I have heard and seen of shipping crates being turned into toy chests, but not the other way around...yet that is what I did with this ordinary, run of the mill chest I got on Craigslist.


I remembered to take the "Before" after sanding and stripping off the layers of thick, enamel brown and beige paint. The sides are MDF, and the top and ends are pine.
I roughed it up with some screws, a hammer, and even took a firelighter to it in some places...lol!


Then I applied some ebony colored glaze. I did not have anything else, and I was too impatient to make the steel wool in vinegar mix, which has to soak for at least 24 hours. There are many tutorials on how to do that, but here is a link to one. I was going for the look of old cedar. The pine part turned out pretty good, but the MDF was a different story....

I ended up painting this part red...just could not get it to look right.
I then dry brushed some more red on the other parts, too, just so it would look like it fit.


I found old vintage magazine ads of Pfluegers, a fishing tackle and equipment company, on line,  printed it out, and decoupaged it to the side. The writing was done free hand, from an example I found when searching for "shipping crates" images.


I don't know if you noticed, but I tried to make the corner strips look like metal. Painted it silver, and screwed some screws in. On one side I stenciled "THIS END UP" ,
 and on the other side I decoupaged a sign that says "HANDLE WITH CARE" .
I also drilled some holes and made handles out of rope for a more authentic look. (or so I thought, anyway)

I distressed the edges and sanded the  chest all over a few times during the process.
Also applied and wiped off the same ebony colored glaze  a few times. I just played until I got the look I liked. The decoupaged parts were sanded pretty heavily to make it look really old.


This is what the back looks like. Some random stenciling, and another sign decoupaged on.

O yes, and see the little stamp in the right corner? It says "product of the USA". I just used a plate as a template en drew it on with a thin brush. The words were just done freehand.

Well, I had a lot of fun doing this, and I can just see it in a boy's room with a fishing theme, or even as a rustic kind of coffee table in a TV room. 

What do you think?


Until next time, 
happy thrifting!

Monday, April 16, 2012

From Armoire to Craft/sewing/work Station

Hello Again!

Remember me? Won't blame you if you don't.

Things have been C.R.A.Z.Y. here, to say the least! I have one son getting married, another going to senior prom and graduating, and a 38 hour flight to South Africa, for a long overdue vacation with my sisters, all taking place the last two weeks of May! Oi ! In between trying to get organized for the above mentioned events, I have also tried to get a few projects done. All of which have resulted in Yours Truly being very behind in all things domestic!

 Suffice to say that I am just a teeeensy bit stressed out right about now. Not to mention the fact that I am about to be  " Mother of the Groom"! O my goodness, that even sounds wrong! Wasn't it yesterday that I was the bride? What do I wear, by the way? All the "Mother of the Groom-ish" outfits reminds me of the Queen-mother, for some reason. I am not ready to look like the Queen-mother!

Anywoo...enough of that.

This is my latest project:

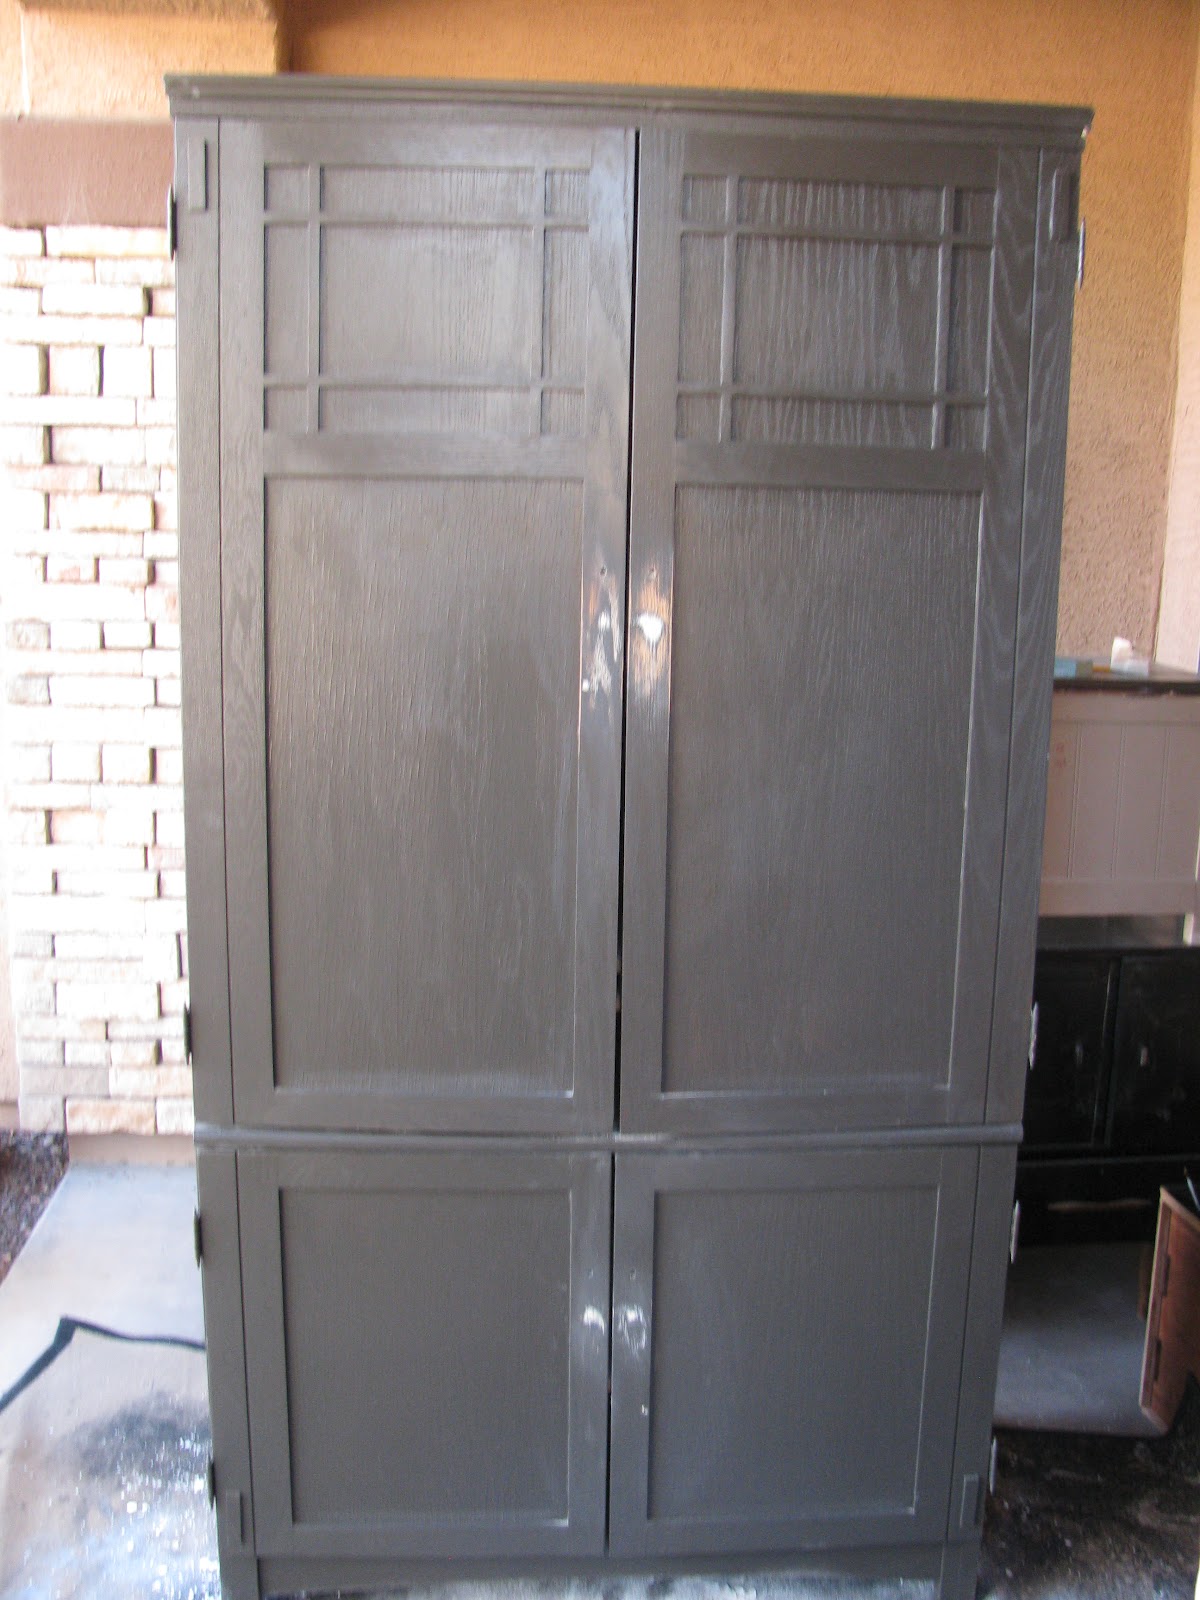
BEFORE...                                                                   AFTER                                                                                                       
                                                                                                                           
Armoire bought on Craigslist
Transformed into Craft Station


The front doors were Modge Podged with fabric I had , and two small chalk boards
above serve to write inspiring words, messages, etc. on.
The side ...is the result of many, many attempts,  "colorful language",and time spent coloring .
This was one of the less successful attempts....
Yes, I ran out of painter's tape, and used red duct tape...


The inside is what I am the most proud of:
I replaced the back with peg board, that I painted black,
and put hooks, a rod for gift wrap or ribbon, and baskets up.
An empty coffee container and tuna can, decoupaged in the same pattern, serve as fun "hold alls".


The inside of one door was painted in chalk board paint, for messages and reminders, and the inside of the other door has a cork board for pictures, etc.
The outside is home made black chalk paint.

Did you notice the knobs? I modged podged the two bottom ones with the same fabric, and replaced the top ones with the black squirlies..

Do you think this will make some woman happy?
 I hope so!
I'm selling it on Craigslist.


I am joining these parties....