Thursday, September 20, 2012

From Toy Chest to Shipping Crate

Hi Everyone!
I have heard and seen of shipping crates being turned into toy chests, but not the other way around...yet that is what I did with this ordinary, run of the mill chest I got on Craigslist.


I remembered to take the "Before" after sanding and stripping off the layers of thick, enamel brown and beige paint. The sides are MDF, and the top and ends are pine.
I roughed it up with some screws, a hammer, and even took a firelighter to it in some places...lol!


Then I applied some ebony colored glaze. I did not have anything else, and I was too impatient to make the steel wool in vinegar mix, which has to soak for at least 24 hours. There are many tutorials on how to do that, but here is a link to one. I was going for the look of old cedar. The pine part turned out pretty good, but the MDF was a different story....

I ended up painting this part red...just could not get it to look right.
I then dry brushed some more red on the other parts, too, just so it would look like it fit.


I found old vintage magazine ads of Pfluegers, a fishing tackle and equipment company, on line,  printed it out, and decoupaged it to the side. The writing was done free hand, from an example I found when searching for "shipping crates" images.


I don't know if you noticed, but I tried to make the corner strips look like metal. Painted it silver, and screwed some screws in. On one side I stenciled "THIS END UP" ,
 and on the other side I decoupaged a sign that says "HANDLE WITH CARE" .
I also drilled some holes and made handles out of rope for a more authentic look. (or so I thought, anyway)

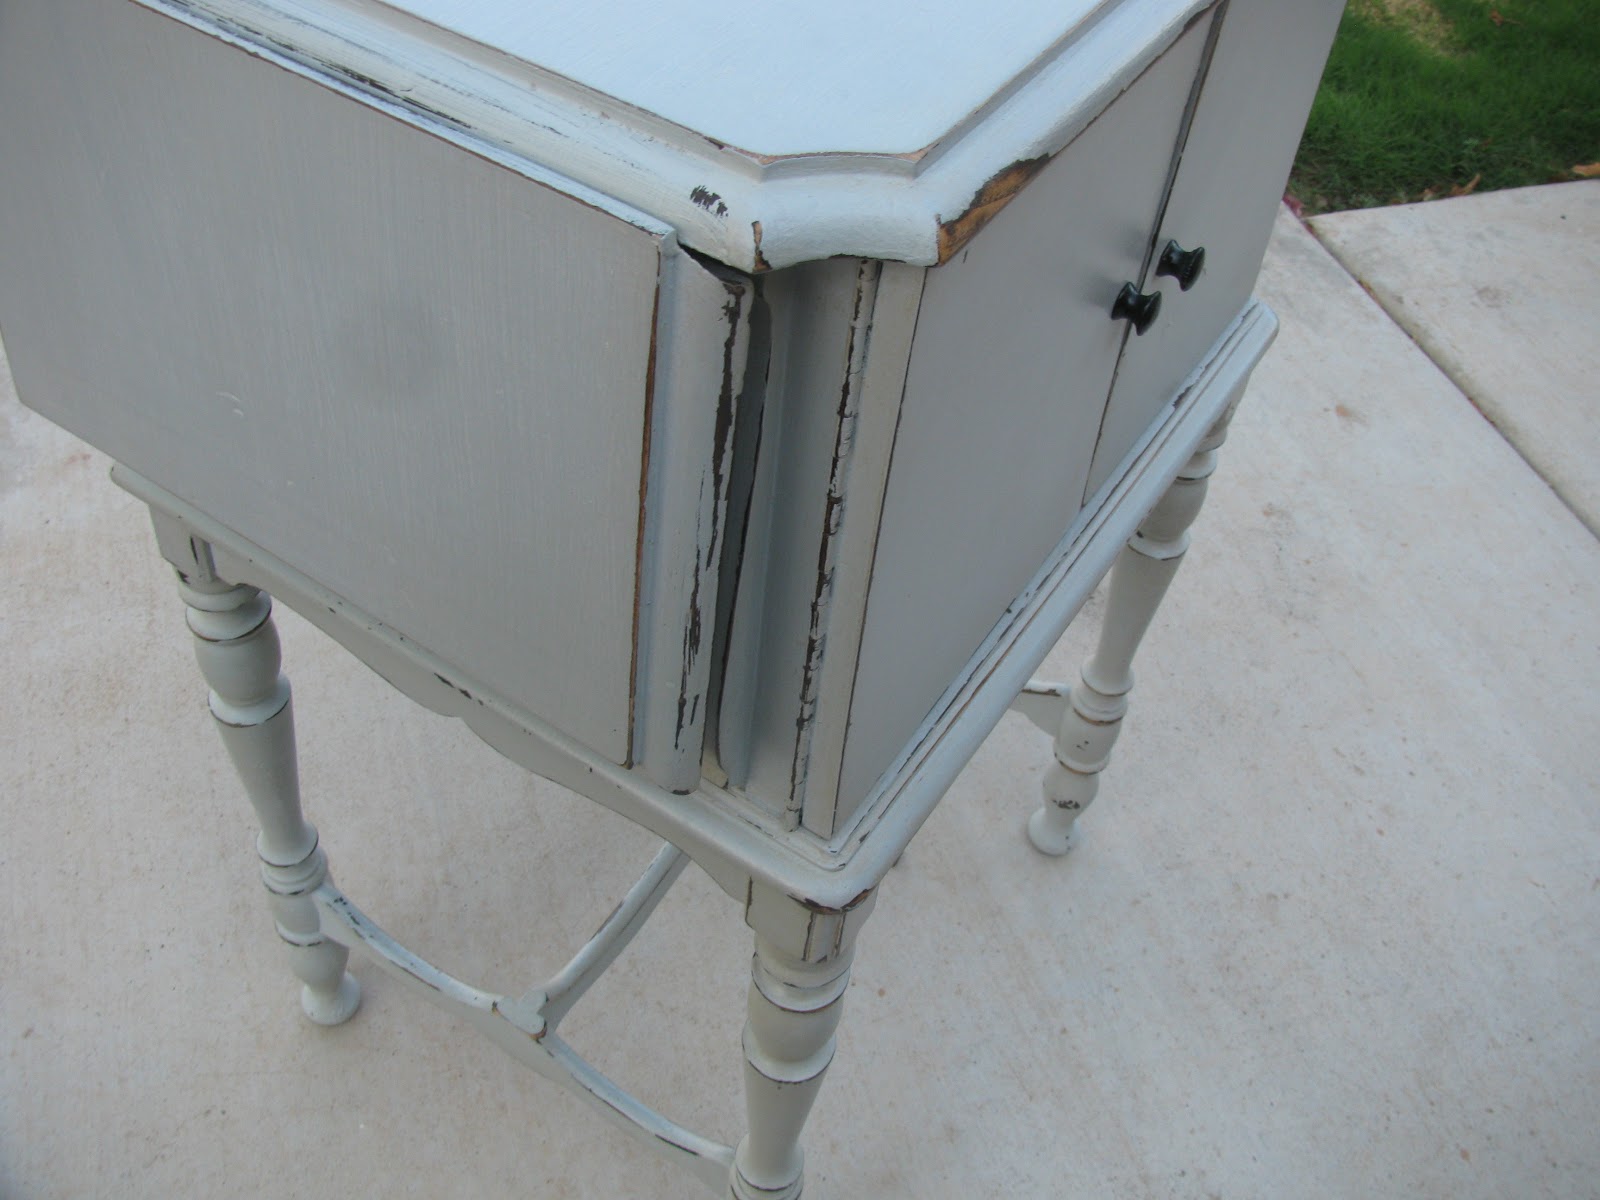
I distressed the edges and sanded the  chest all over a few times during the process.
Also applied and wiped off the same ebony colored glaze  a few times. I just played until I got the look I liked. The decoupaged parts were sanded pretty heavily to make it look really old.


This is what the back looks like. Some random stenciling, and another sign decoupaged on.

O yes, and see the little stamp in the right corner? It says "product of the USA". I just used a plate as a template en drew it on with a thin brush. The words were just done freehand.

Well, I had a lot of fun doing this, and I can just see it in a boy's room with a fishing theme, or even as a rustic kind of coffee table in a TV room. 

What do you think?


Until next time, 
happy thrifting!

Tuesday, September 11, 2012

Got Sewing Machine?


I have had this little sewing cabinet a few years now. I actually used it just like this, while planning on painting it for myself later.
 In the mean time I found another, bigger sewing desk, not as cute and antique-looking, but more suited for my needs, so I decided to paint this one to sell in our booth at The Brass Armadillo Antique Mall in Goodyear .
It was actually in a good condition, with some superficial scratches and marks.
Nothing that could not be fixed with some light sanding and paint.

Since my discovery of home-made chalk paint, I almost never do any heavy sanding anymore. Not when I want to paint over the surface anyway. 
This is it after some light sanding and a off-white base coat of chalk paint.
(yes, I'm painting in my family room...too hot in Phoenix this time of the year. But it is an old carpet remnant on top of my regular carpet, so I am being careful...)
For the top coat , I mixed in a small amount of blue. I kept the original hardware, just spray painted it black. The rest of the hinges I just painted over...I liked the look.
 Isn't she gorgeous? 

 So many extra little drawers and cool storage ..
 I almost regret selling her now..


Have a lovely week, and happy thrifting!

Love,
Suzanne
Joining these:
 
Becolorful</ a>

Friday, September 7, 2012

Summer Projects part 2

Here's some more items I transformed while on vacation in South Africa...
This is a beautiful drawer chest that my sis bought years ago from an old clothing store in town that closed down.
I encouraged her back then to get it, because it is so cool...even as is.
That's the way she kept it for years, until my visit recently , and "we" decided it needed a make-over.

She wanted the multi-layered green and red painted look, so , this is what I did.
It was so quick and easy...light sanding, no primer, and just patches of green and red paint applied with a brush. Some sanding afterwards, rubbing with a little bit of my secret ingredient (brown shoe polish...shhhhh) , and there she was...
exciting and new, and once again the focus of the room.
I love it!

Happy painting!

Love,


                                                    Joining these parties:

Funky Junk's Saturday Nite Special