Showing posts with label craft. Show all posts

Sunday, February 23, 2014

High Tea....South African Style


Good Morning!
I have to tell you about the wonderful "High Tea" I had to privilege to attend this past weekend....
It was a surprise for a friend, organized by another friend. It was absolutely wonderful...from the heavenly bites, to the carefully decorated tables.

And the cake! Oh my! Out of this world!


That is ALL edible. Incredible, isn't it? And it tasted delicious, too. 

My contribution to the party was to make place cards for the table. I wanted to do something different, so I decided to make the little tags with names on, look like teabag tags. 
I made shortbread dough and cut out shapes to look like tea bags, and punched a hole in the top before baking them.


 This is after they came out of the oven. I dipped the ends in melted chocolate, because I thought it resembled the dark tea leaves in the teabag.( come on, use your imagination!) I used embroidery thread (purple, because it is the birthday girl's favorite color), as the string. The name tags were pretty straight forward. The names were printed on purple card stock, far enough apart so that I could stamp the little frame around each name, and cut it out. I printed another piece for the back , of which I forgot to take a picture. Aargh! The two sides were then glued together with the string in between.This is what it looked like all put together:


Here are some more pictures of the lovely delicatessen.


Well, that's it for now. I hope this inspired you to do something similar for a friend!

              Love,
 
         Suzanne

Monday, April 16, 2012

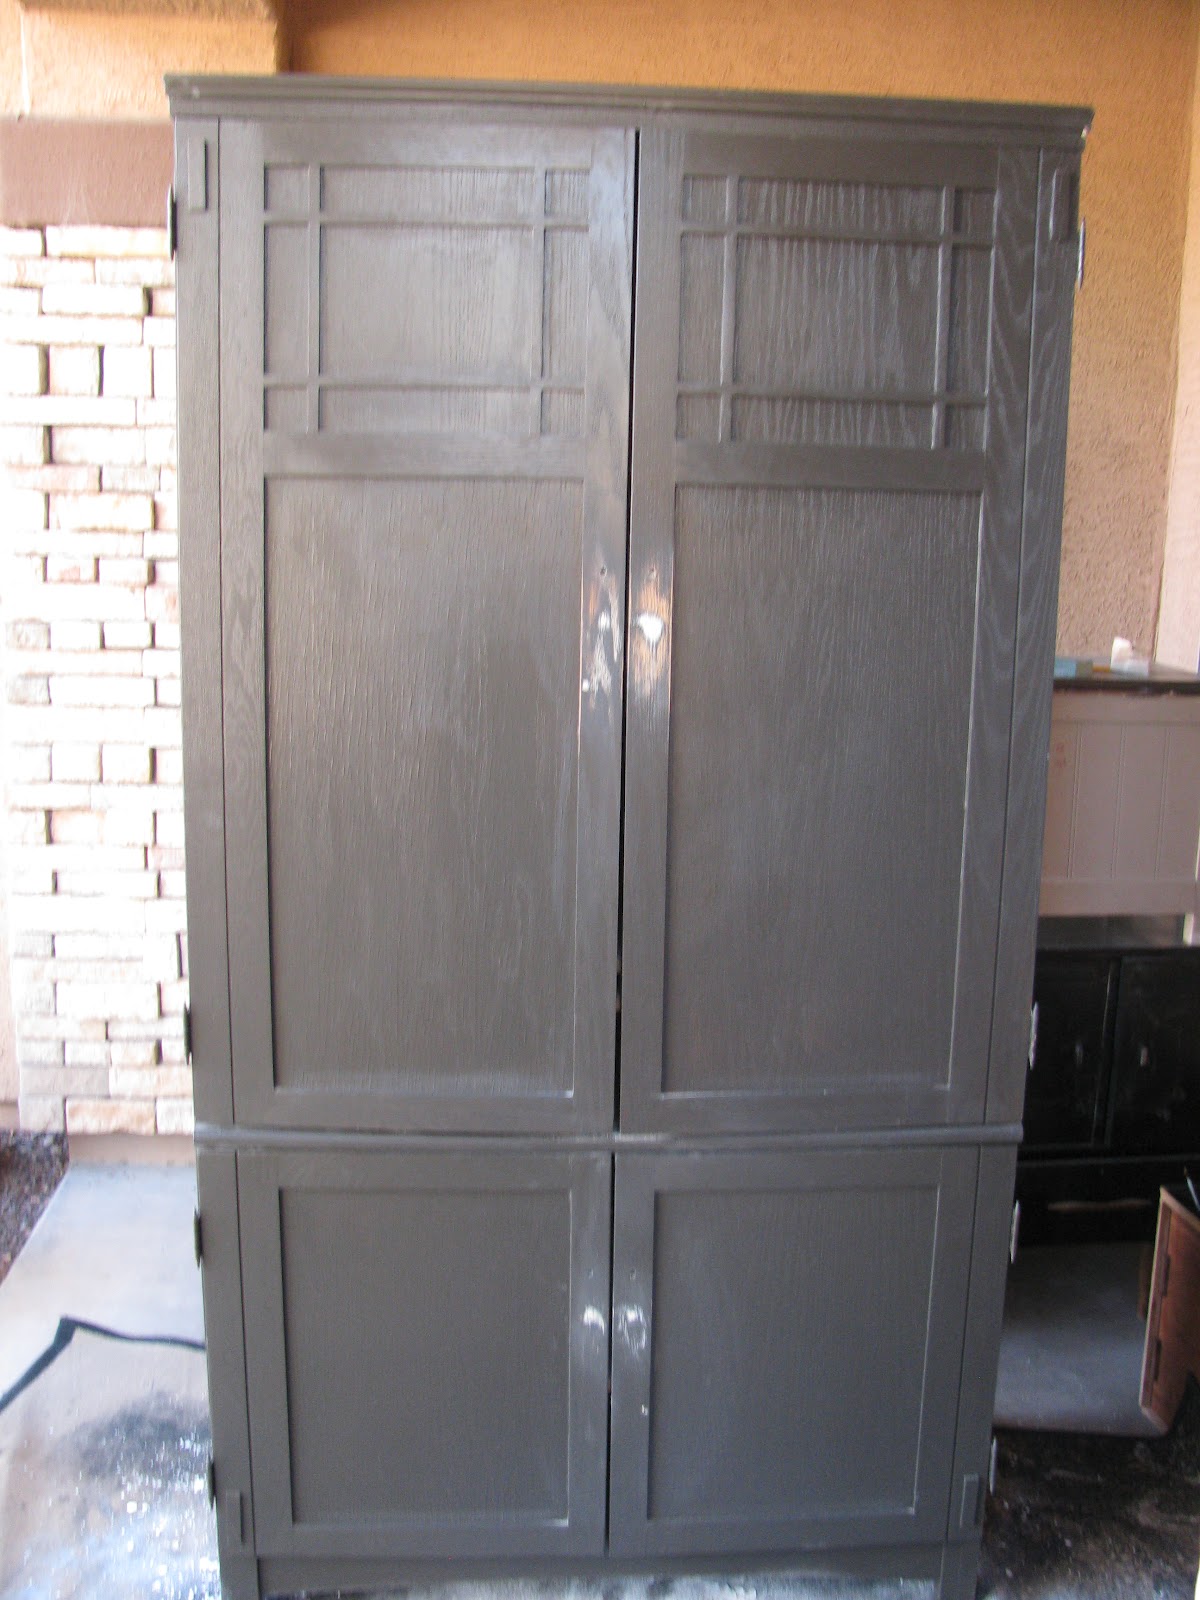
From Armoire to Craft/sewing/work Station

Hello Again!

Remember me? Won't blame you if you don't.

Things have been C.R.A.Z.Y. here, to say the least! I have one son getting married, another going to senior prom and graduating, and a 38 hour flight to South Africa, for a long overdue vacation with my sisters, all taking place the last two weeks of May! Oi ! In between trying to get organized for the above mentioned events, I have also tried to get a few projects done. All of which have resulted in Yours Truly being very behind in all things domestic!

 Suffice to say that I am just a teeeensy bit stressed out right about now. Not to mention the fact that I am about to be  " Mother of the Groom"! O my goodness, that even sounds wrong! Wasn't it yesterday that I was the bride? What do I wear, by the way? All the "Mother of the Groom-ish" outfits reminds me of the Queen-mother, for some reason. I am not ready to look like the Queen-mother!

Anywoo...enough of that.

This is my latest project:

BEFORE...                                                                   AFTER                                                                                                       
                                                                                                                           
Armoire bought on Craigslist
Transformed into Craft Station


The front doors were Modge Podged with fabric I had , and two small chalk boards
above serve to write inspiring words, messages, etc. on.
The side ...is the result of many, many attempts,  "colorful language",and time spent coloring .
This was one of the less successful attempts....
Yes, I ran out of painter's tape, and used red duct tape...


The inside is what I am the most proud of:
I replaced the back with peg board, that I painted black,
and put hooks, a rod for gift wrap or ribbon, and baskets up.
An empty coffee container and tuna can, decoupaged in the same pattern, serve as fun "hold alls".


The inside of one door was painted in chalk board paint, for messages and reminders, and the inside of the other door has a cork board for pictures, etc.
The outside is home made black chalk paint.

Did you notice the knobs? I modged podged the two bottom ones with the same fabric, and replaced the top ones with the black squirlies..

Do you think this will make some woman happy?
 I hope so!
I'm selling it on Craigslist.


I am joining these parties....


Thursday, December 16, 2010

Christmas Card Picture

Hi There

Do you know the part in The Bible where it talks about "weeping and gnashing of teeth" ?
If you want to know what that looks like, come to my house when it is time for the yearly Family Christmas Card Picture Taking....(cue in scary music here)
You would think I was asking each one of them to donate a kidney, or worse....
My 10 year old daughter still loves it, but she is sadly the only one.
Lets just say that on picture day, there is not very much "Christmas Spirit" in this household...

This year, I came up with a different plan., that I thought they would be more willing to do . I was "sort of " right. My oldest grudgingly agreed to participate, but made sure I understood that I was ruining his reputation...LOL.

I took three different pictures of them in poses to make up the letters : J O Y


Oldest put his foot down when it came to the "O", and refused to make up the other half with his brother, so I had to improvise...


I flipped the picture, put the two sides together, and blurred out the background to make an "O".

The "Y" was pretty straightforward.
Then I had to go and blur out all the backgrounds. If I ever get to do this again, I would make sure that the background and the floor are the same color.

After editing the pics in Photoshop Elements, I made a collage on Picasa 3,  and  Voila!


Can you see that it spells JOY?

I was afraid some people might not see it, so I used this template from Walmart's photo to make my Christmas Card...


I really enjoyed doing this. Wish I had more willing "subjects", but, never the less, I have my Christmas Card! Yeah!

Have a great weekend!

Suzanne  xx

Linking Up to These Parties:


Chic on a Shoestring Decorating


Sunday, December 12, 2010

Making Christmas Stars

Helloooo!
Having a nice, laid back Sunday, and decided to show you my stars I made a couple of months ago at our bi-annual craft day, hosted by a friend's MIL.
Lauren, the hostess, was so kind to cut the shapes out for us before we got there. She even sanded it for us! All we needed to do was paint to our little hearts' content.
I decided to do blue and silver, and left the centres white, because I wanted to decoupage pictures of each of my three kids in the middle...


 Then I decided I did not like the gold polka dots, so I painted over it, and just splattered gold, silver and blue all over.
 I never got around to doing the decoupage (surprise!) , so when it got time for me to decorate last week, I just grabbed a white chalkboard marker, and wrote the letters of JOY on there.


Here are the NOEL blocks I made last year..

And this is my buffet all decorated for Christmas. I like to keep this one more monochromatic, this time in blue, white and silver.


Remember my silver tray chalkboard that said "Harvest" before?


...aaand that's all for now. Have a great week, Everyone!
                                           
                                                                Love,


Thursday, September 30, 2010

There Once was an Ugly Brass Light

Happy Friday, Everyone!!!!

  Hope yours is great, and filled with creative moments.

OK, so , a few months ago I did not even know a word like  "cloche" , and now I'm making them out of light fittings?       WHAT NEXT, PEOPLE???!!! 
All I can say is..... ya'll inspire me.

BEFORE


I found this old brass light at Goodwill, of course (we don't have any other cool thrift stores close by), and turned it into this.....

AFTER

.
And now I have to say I'm sorry once again, because I forgot to take pictures of the "during".
Hey! At least I got the "before" and "after"!

Truth be told, there are not that many steps anyway.

I pulled all the electrical stuff out...basically the whole "light" part. Took the chain off, and was left with just the glass shade. I  used the brass ceiling medallion and other fittings and stacked them to sort of make a "handle" on top.
Then I just taped the glass with painter's tape, sprayed with ORB (Oil Rubbed Bronze) and that's it!
           A Cloche!....Sort of....


 Now that I see the pictures, I realize that extra piece of bolt inside is more visible than I thought.        Wonderhusband says he will help me get rid of it.

 Filling the cloche was more of a challenge than making it... I finally just collected all the decorating balls I had and stuffed them in  there. That will have to do for now until inspiration strikes again. (Read:  until I can copy one of your pretty ideas.)


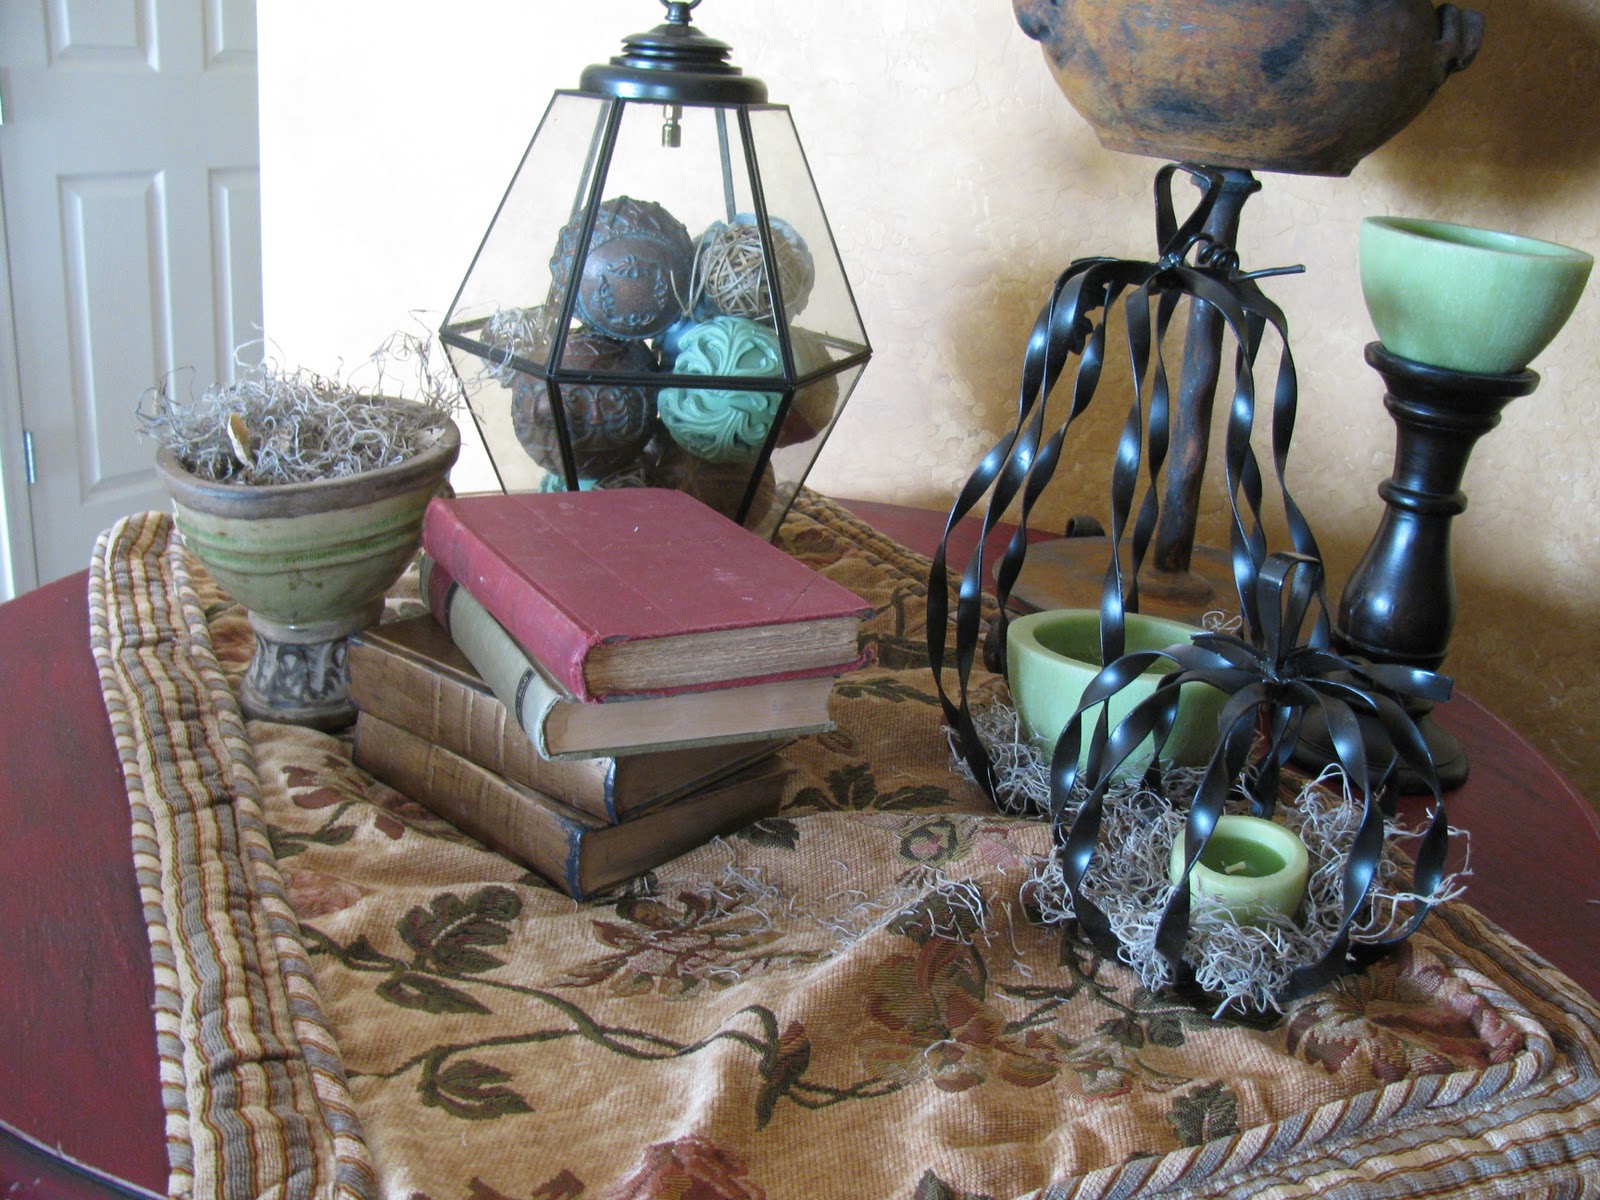
On the table with some other Fall stuff.


The "throw" is a pillow sham from Goodwill btw. I think it is so pretty!

Do you remember my lamp shade redo ? 


And........one last look.

What do you think? I know that at least a few of you have done this too, so tell me about it.
What did you do with the extra hardware..like the bolt that is now sticking out like a sore thumb?

You know I love your comments!

Suzanne

Joining these parties:

Frugaliscious Friday at Finding Fabulous
Show and tell Friday at My Romantic Home


Chic on a Shoestring Decorating


Funky Junk's Saturday Nite Special


Monday, September 20, 2010

Decoupage with a Twist

Happy Monday Everyone!

The other project I did during my blissful weekend of guilt-free crafting , was to decoupage two serving trays. Now I know anybody who has ever crafted for more than a week, knows how to decoupage, but this one has a twist in the end...trust me. (I'm a doctor...no, just kidding, I'm not)

We use serving trays in our house a lot. Every morning I take my husband breakfast in bed on one...(thank you, thank you, you can stop clapping now...I know..I'm awesome). Ok, I have to admit, it's usually just coffee, and  toast or cereal, and it's minor compared to what he does for me, but the point is, I use a serving tray at least once a day. I'm saying this to explain that I can't just make a tray pretty, it must be durable, too.

I started out with two trays, which I primed with Kilz primer, of course.
One got sprayed red, and the other one black.

I took a picture of my "inspiration" glass of red wine.Wine and uninterrupted crafting...it doesn't get much better than that....
 
The red tray got this black and white paper, and a red L that I printed out on the computer.

The black one got lime green scrapbook paper, and a collage of pictures of my kids that I had made at Wal-Mart. I could have just used the individual pictures, but my experience is the more pictures, the more little corners that can pop up.It is just easier and neater to do it this way.It was really cheap, way less than $5.00, for a  one hour development of a 10 x 8 print.

Again, some Dollar Tree vinyl lettering and hearts.

Then came the fun part....
Have any of you used this stuff before? You can buy it at Michaels or Lowes.It is a type of resin that hardens and leaves a thick, hard,glossy layer on top. Like they say, equal to 60 layers of varnish...sheesh!.
 It is very easy to do...just like the instructions show above. Just mix equal parts, stir well, and pour.
It takes 72 hours to cure before you can use it.
Can you see the finish? I'm not sure if you can from the picture.


I love the look. It makes a great gift to grandparents, too

You want to know what else I used this process on???

My kitchen table!


I was sick of the grooves - it was so hard to clean with the crumbs accumulating in there, that we came up with this plan..
Just stuck a bunch of memories on there, poured the resin, and now we have a wonderful conversation starter. So much fun to tell the story behind each different picture to enquiring guests!

We did this months ago, in my BB days (before blogging), so I don't have pictures of the process, but it is the same as for the tray. Only this time I  stuck the pics on one by one, of course.

Fun!!
The only thing is: what shall we do with it when we want to replace the set?
A friend suggested we take the top off and hang it on a wall. We might just have to. I'm very sentimental about pictures...

What do you think? Have you used this product before?
Let me know! I love your comments!

Joining these parties: 
All Thingz Related

CreativeShareWednesdays


HookingupwithHoH
Get your craft on Thurs.