Tuesday, October 7, 2014

Locker Mania


Oh, Goodwill! Just when I'm ready to break up with you , you surprise me with something cool..

I have been a smidge irritated with Goodwill for months now. It seems "they" got wind of the whole "refinishing crappy furniture to look cool again" trend, and "they" have been hiking their prices up so much that I hardly went there anymore.

Lucky for me ( and "them"... I used to be a frequent customer, after all),  my daughter started going for Occupational Therapy at a therapist right behind a Goodwill. So what's a girl to do when she's checked her e-mail  and Facebook  and Pinterest and Offer Up  and Craigslist , and it's still more than half an hour before her child gets done at the OT?  Go browse in Goodwill, of course.

I have been drooling over the industrial style lockers on Pinterest, but whenever I saw any on Craigslist or OfferUp, they were way more than what I was willing to pay. So, great was my excitement when I saw this cabinet there!


I know, it doesn't come close to a real locker, but I was convinced I could work with it. Especially when I saw the price! $14.99 , plus I had my 20% off coupon! SOLD to me!!!

When I got home I soon realized that I would need a lot of paint stripper. The top layer boring white paint was just regular paint, but the original paint was almost like plastic..yuck!

Luckily I was not planning on stripping all of the paint off. The idea was to leave some on, for the layers of peeling paint look.


I recently discovered that Jo-Anne's and Michaels also stock chalk paint.
I got this one at Michaels for $9.99 less 50% with my coupon. Score!!


I painted it on unevenly, with some of the nice, rusted steel parts and some white paint still showing. Sanding with 150 grit sandpaper and applying this wax, gave it a smooth, silky feel.
               
                                                                                     .


I love how it turned out!
Oh ya! And check out the numbers on the "locker " doors!


I also replaced the boring hardware with this . Just a very shiny lock thingy from Lowe's, spray painted black and then painted over with the same paint I used on the cabinet. I didn't worry about the two extra holes from the old hardware. I think it adds to the industrial look.


Had to enlist Hubby's help to add metal castors (ordered on Amazon) at the bottom.


I was at first planning on selling this , but now, of course, I can't get myself to part with it.
For the time being, it will serve as my liquor cabinet...


What do you think? Any other ideas for where to use it?


                                                            Love,


Friday, June 6, 2014

Kitchen Nook for the Newly Weds


Hi Everyone!
 I hope you are all having a wonderful, creative, summer. We just visited our home country, South Africa, in April and May, and I came back all enthusiastic to do STUFF!!

But first, I need to catch up on showing some older projects that got "Left Behind".

About a year ago, when my son and his new wife were getting ready to move into their own place, I saw these cute chairs at Savers, for $5 each. They reminded me of a bentwood chair, but were metal (of course...geez, wouldn't it be a bargain if it was a real bentwood chair...).


This picture was taken after I had already spray painted the frame. It was a bad paint job with beige paint before. The plastic cover screamed "family with small children!" , and somehow I did not think it would fly with my two newly weds. They are very young, and still have a lot of adventures planned before parenthood "cramps their style". 

Luckily I had this sweet fabric that I got a while before that. I intended to add splashes of yellow, grey and aqua to my living room at one point, but somehow never got around to it.
Covering the seats was an easy job, thanks to my handy dandy staple gun.

Pretty, isn't it?
I bet you spotted the turquoise piece of table in the pic, right? How could I not make the table turquoise? It was perfect!! 
I bought this table at  Goodwill years ago.

     It began its new life in my home with a pretty red, distressed coat. In the early years I never painted with a brush, always spray painted. Now it's just the opposite. But, all this to say, this table was spray painted red and glazed with black. If I could find out how to add a link with my iPad, I would link you to that post, but, until I learn how, you will just have to either believe me or go look for it on my blog. ( sorry!!)


I loved it just like that for many years, but now it was time for a change yet again.
I painted it with paint I already had on hand. It came in handy, since we were also moving, and I wanted to get rid of some of my open paint containers.

Of course it also got some very light distressing and a smudge of charcoal glaze.

...and there it is! A fresh, sweet breakfast nook for the newly weds! ( the fourth chair was late, and could unfortunately not make it in time for the picture.. ;). )
Spot the chaos of moving boxes in the background.

I'm very happy how this little set turned out. So bright and cheerful, don't you think? 

Well, hopefully this inspired you into some action, if you needed a little kick in the bee hind! 

                                        Cheers!!
                                        

                                      Suzanne.....


Sunday, February 23, 2014

High Tea....South African Style


Good Morning!
I have to tell you about the wonderful "High Tea" I had to privilege to attend this past weekend....
It was a surprise for a friend, organized by another friend. It was absolutely wonderful...from the heavenly bites, to the carefully decorated tables.

And the cake! Oh my! Out of this world!


That is ALL edible. Incredible, isn't it? And it tasted delicious, too. 

My contribution to the party was to make place cards for the table. I wanted to do something different, so I decided to make the little tags with names on, look like teabag tags. 
I made shortbread dough and cut out shapes to look like tea bags, and punched a hole in the top before baking them.


 This is after they came out of the oven. I dipped the ends in melted chocolate, because I thought it resembled the dark tea leaves in the teabag.( come on, use your imagination!) I used embroidery thread (purple, because it is the birthday girl's favorite color), as the string. The name tags were pretty straight forward. The names were printed on purple card stock, far enough apart so that I could stamp the little frame around each name, and cut it out. I printed another piece for the back , of which I forgot to take a picture. Aargh! The two sides were then glued together with the string in between.This is what it looked like all put together:


Here are some more pictures of the lovely delicatessen.


Well, that's it for now. I hope this inspired you to do something similar for a friend!

              Love,
 
         Suzanne

Our New Backyard: Outdoor Kitchen Counter

Hi Everyone!
One of the excuses I have for not blogging for so long, is that we bought a brand new house in September 2013. We have been moving in and getting settled for 4 months now. With my birthday, Thanksgiving, Christmas, New Year, etc., we have had a lot of interruptions, but we are slowly getting there..
 
Today I want to show off our DIY outdoor kitchen and the awesome light Hubby made to go with it.
 
We bought , shall we call it a shell for lack of a better word, for the counter area. Craigslist. It is made out of polystyrene, covered with cement,  hollow inside, and looked like this;


We could cut openings  where we wanted them, and put on a finish we liked.
So, my husband and one of his friends ,Lou, cut two squares in front, for cupboard doors,  and a square on the top left of the counter for the charcoal BBQ to go in.
 
Lou and Ann are our friends from San Jose, CA, who came to visit for the weekend of my birthday. Boy, did we put them to work! LOL! No, seriously, they were a great help. They might never visit us again, but I'm glad they were here to help us. Lou built the frame and poured the cement for the floor during Thursday while Niel was still at work, and Ann helped with the planting. ( A lot). 
  Ann, in our bare backyard.
  Lou, making the floor by flashlight! 
  Haha! He thought he could stop because it was dark, but Ann and I grabbed the flashlights and put him back to work!


On Friday, Niel and Lou built the cupboard doors, and lay the tiles on the counter.
 

My birthday party was on the Saturday, and we could use our new "kitchen" for the first time!

It wasn't done, but we loved it. 


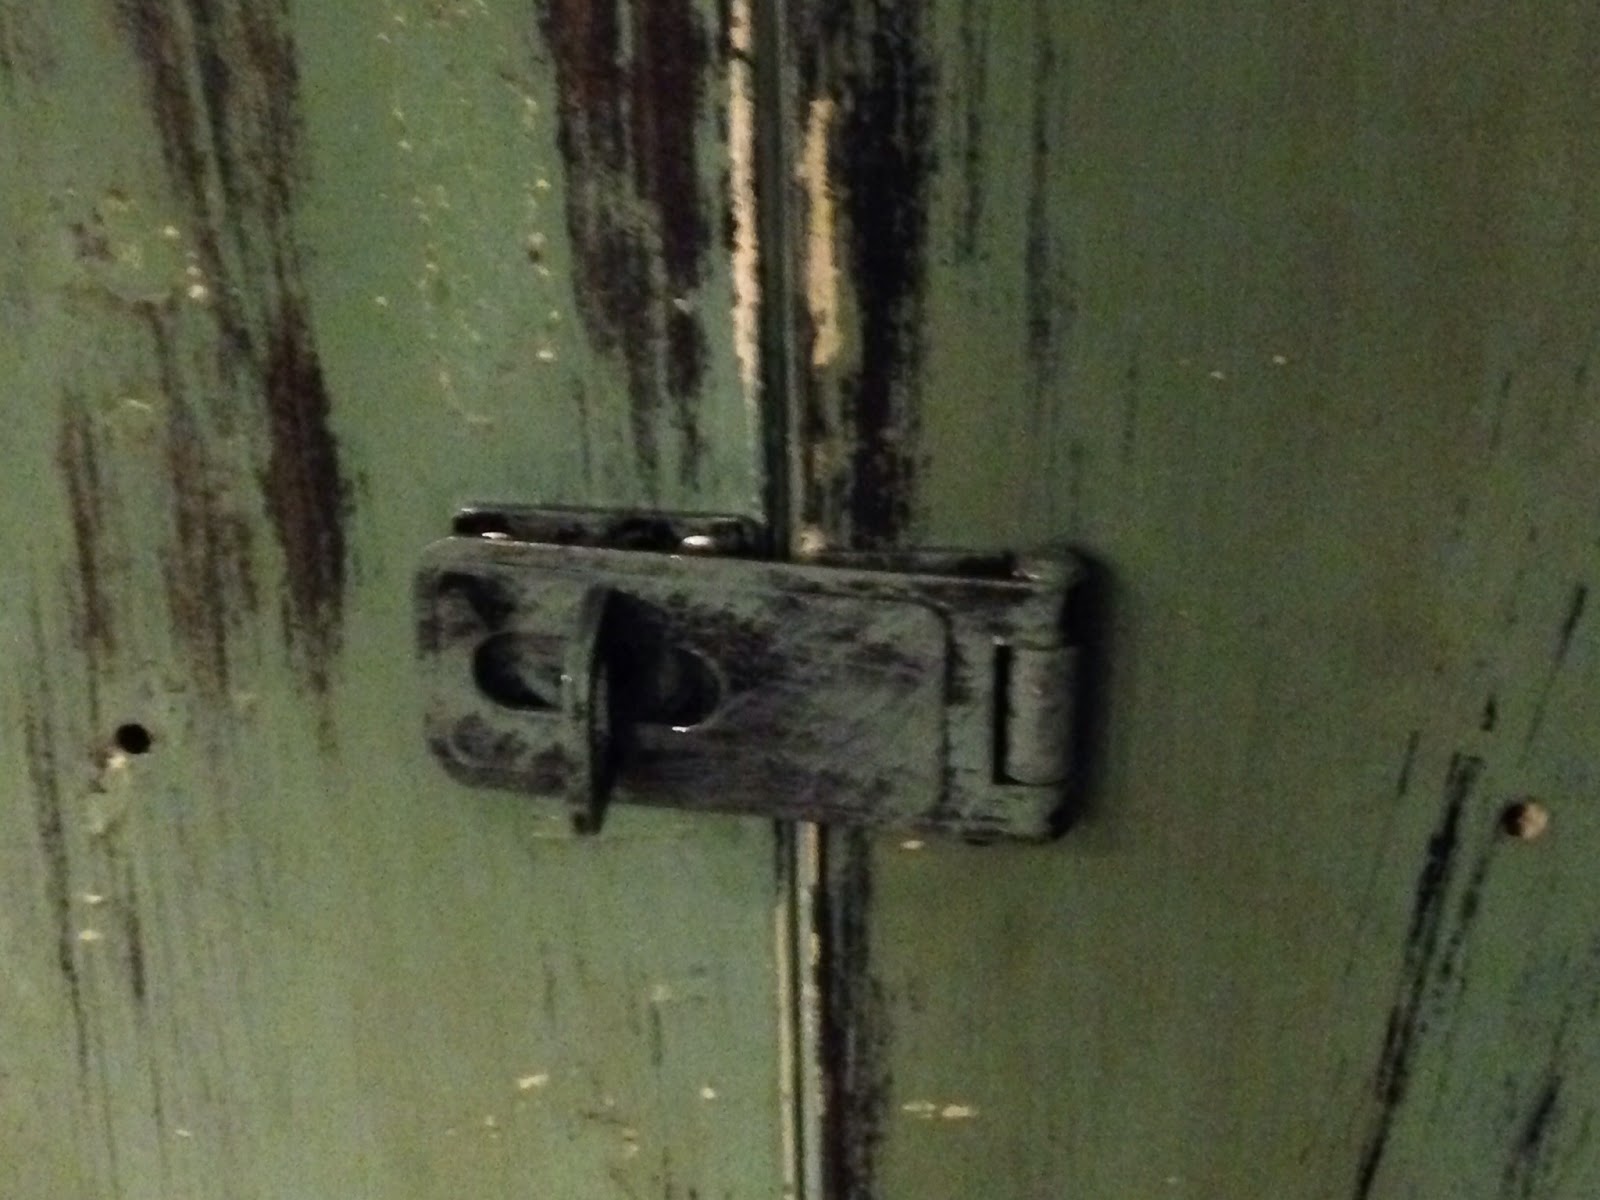
I have the perfect door handles for these doors, but since it's Niel's project, I guess I will have to nag him wait until he warms to my idea. Looking at this picture, I realize I will have to age the hinges. They are way too shiny!
We both agree that the doors need to be stained a much darker brown. (Yay!)


I had several ideas for the finish, but in the end I went with the quickest, most affordable option;  I painted it with Modern Masters' rust paint to look like rusted metal. I talked about the product here.
 It is still a work in progress, but here are some more pics....
 
Notice the plug? Yep, they even did that, too. No need to get nervous for my sake...Lou used to be an electrician , so he could make sure we did not blow something up in the process.  :)

  I need to find some way to make the edges more finished; I thought of corner steel or wood painted to look like steel....not sure. Any ideas?


We found  the old railway tie many years ago , abruptly brought it home, then had no idea where to use it. Now it works perfectly as a footrest!
 
 Notice the brand new gas barbeque? Hubby jokingly said he bought it for me for my birthday. So I've decided to jokingly give him a boob lift for his birthday! Ha!

                           I got the Barstools  off of Craigslist too.
 

 I love that it even still had some kind of metal tag on it, too. It did not come with the bird poop. That is courtesy of the Crackels , who, for some reason, love my bar!
 
I know...the wood needs something...either darker stain, or metal rust, too.
 
 
Notice the lamp/ tree at the end of the bar? I'll tell you about it:
Hubby said he had an idea of what he wanted to do for a light at the bar and barbecue. I have to admit, when he explained it, I was not overly excited. I could not picture it.
 
He found an old dead tree stump in a dry riverbed ( does Arizona have any other kind? ) near our house. With a dremmel he made a small groove in the stump, to hide the electrical cord. See? It looks just like a crack in the wood.


 He also planted the piece of stump in cement, to make sure it is sturdy.
 
 
Then he used one of my thrift store lanterns that was supposed to hold a tea light candle.
 
With the light kit from another old , soon to be discarded light, voila! We now have an awesome, homemade, rustic, looks like we are camping, but most importantly FREE outside light at our bar!


I LOVE it! It is most probably my favorite part of the bar!


Notice the "bug" flying  in the top picture?
It is actually a humming bird. We have a feeder right there at the window, and love watching them drink while we drink. Hah!


This has become our favorite spot to hang out. Even when its just hubby and me. He sits behind the counter, close to the little bar fridge behind one of the wooden doors, and I sit, or hang, like a regular bar fly on the counter!
 
Gorgeous Arizona sunset! 
 
Until next time, have a great week!
 
 
Bye for Now!


Joining these parties:


Tuesday, April 9, 2013

Faux Pewter Desk


Hi Girls! (Guys, Dudes, Peeps, Friends, Ladies, and Gentlemen)

I know I promised I would post about another French desk next..but you know better than to believe me by now, right? I also said I was going to stop saying the F word on occasion, drink less wine, eat less, and work out more. Bwhahahaha!
Although, I did join CrossFit and am going three times a week, and it turns out I love it! Who knew I was such a masochist ? LOL
One of these days I will be posting pictures of me in my bikini showing off my muscles...
Don't worry! Just kidding! (maybe..)

This is yet another desk, and I am using my standard before picture, because, well, they all look like this more or less...
And yes, I totally planned it this way. I did not forget the before picture...
 
I have been drooling over these kinds of pieces at Worldmarket..

So, I decided to combine the two effects and ended up with this:
I had some trouble with getting the wood part exactly like I envisioned, and I settled for this look, which almost looks like rusted metal to me.
I know, the more professional furniture transformers out there would have practised on a small piece until they got it right, but as our own dear Miss Sweet Brown so
 aptly put it : " Ain't Nobody got Time for That!"   LOL.

 For the drawers and top I used the last of the textured wallpaper that bought about 8 years ago at Lowes. What a great buy that was!  I really hope I can find some more somewhere. It has the look of ceiling tile, don't you think?
 Of course it was white when I put it on, and I  primed and sprayed it with Rustoleum Metallic Silver after the glue had dried.

Then I painted on some charcoal tinted glaze, and wiped it off with a dry rag. ( I'm guessing son no 2 won't be wearing his "holy" underpants again..lol)
 
 It really gives the impression of pewter, don't you think?
 
 The knobs are from Hobby Lobby. At less 50% they were almost as cheap as buying a mish mash at Habitat Restore.

For the middle drawer,  I used an old pull I got off another piece and just painted it to match.
 
 
Of course I sealed it all with a couple layers of MinWax Policrylic.
 
I have to admit that I am really pleased with the end result...
Won't mind keeping it for myself...
 
Ok! Let me hear those comments!
Love
Suzanne
xoxo