Showing posts with label bench. Show all posts

Sunday, November 4, 2012

Morningside.....

Happy Halloween to you, happy birthday to me, and happy sugar hangover to whom it may concern.  ;-)

I can't wait to show you my latest project....

My dear friend, Kim  gave me this handmade farmhouse table , chairs and bench. It reminds me of the Neil Diamond song, "Morningside"...
Only this old man did not die and  he did not carve "for my children" on it.....
But I do know that it was made by hand by the father of a big family. After several years of good service, he passed it down to another big family (I'm talking like 7 kids, big), and then finally to my friend, Kim, who currently has 5 children, all ten and under. They used it for a few years, until, finally, a couple of months ago, some of the chairs and even the table started showing signs that it was ready to retire...parts of legs and backs started breaking off, etc.

OR....it was just in  need of some serious TLC.....


I had to use some paint stripper on the table, because I wanted a natural look on the top.
Let me tell you, cleaning these babies was no joke. Just imagine twelve years, 20 children, and lots and lots of meals...
There was so much food stuck in every sneaky corner, I'm telling you, it could keep my entire family alive for quite a few months in the event of a Zombie Apocalypse...or something.
I must have contemplated this aloud, because I'm not sure, but I think I heard Hubby mutter something about feeding my brain to the Zombies instead, since I'm apparently not using it anymore... 

I could not quite get rid of  all the marks, but that's ok, since I still wanted a rustic look.
Since I actually remembered to take pictures during the process, I can now tell you step by step what to do to get the result.
  1. First, clean, of course. We've covered that. No excuses about Zombies, etc, allowed.
  2. Sand all the pieces lightly. 
  3. See that it is going to take forever. Try to guilt hubby into helping.
  4. See that its not working. 
  5. Wonder aloud why you married him.
  6. Say "nothing" when he asked what you said.
  7. Try a different approach. Ask for a new palm sander.
  8. Get said palm sander.
  9. Hug hubby. Say your mother was wrong about him, after all...


10. Using yellow acrylic leftover paint, paint the sides or random places yellow.
11. Let dry, and paint everything a light green, or color of your choice. (In my case whatever I have)
      I painted a rather thick and sloppy layer with a brush, since I wanted it to have the look of several,      old layers of paint, added through the years.


In other places, I did not even bother to cover 100 % with the paint, since I was going to sand it down again, anyway.

12. Wait for it to get dark... (ie. nighttime, not the paint.)
13. Get out trusted Tracer Projector, and trace image of choice onto table.( I did a google search of  cafe signs, and traced it with a black permanent marker.)

 14. Use small brushes and black paint to fill in the letters. ( I used yellow for the shading)
   Remember that this was done on a bare, sanded table.


15. Next day, sand over the letters lightly, and stain whole table top with Minwax Dark Mahogany.

Nice, right? Now back to the chairs and bench....(I'm stopping the numbering of steps, there seems to be way too many) LOL.
After the paint has completely dried, distress by sanding the edges and corners, etc.

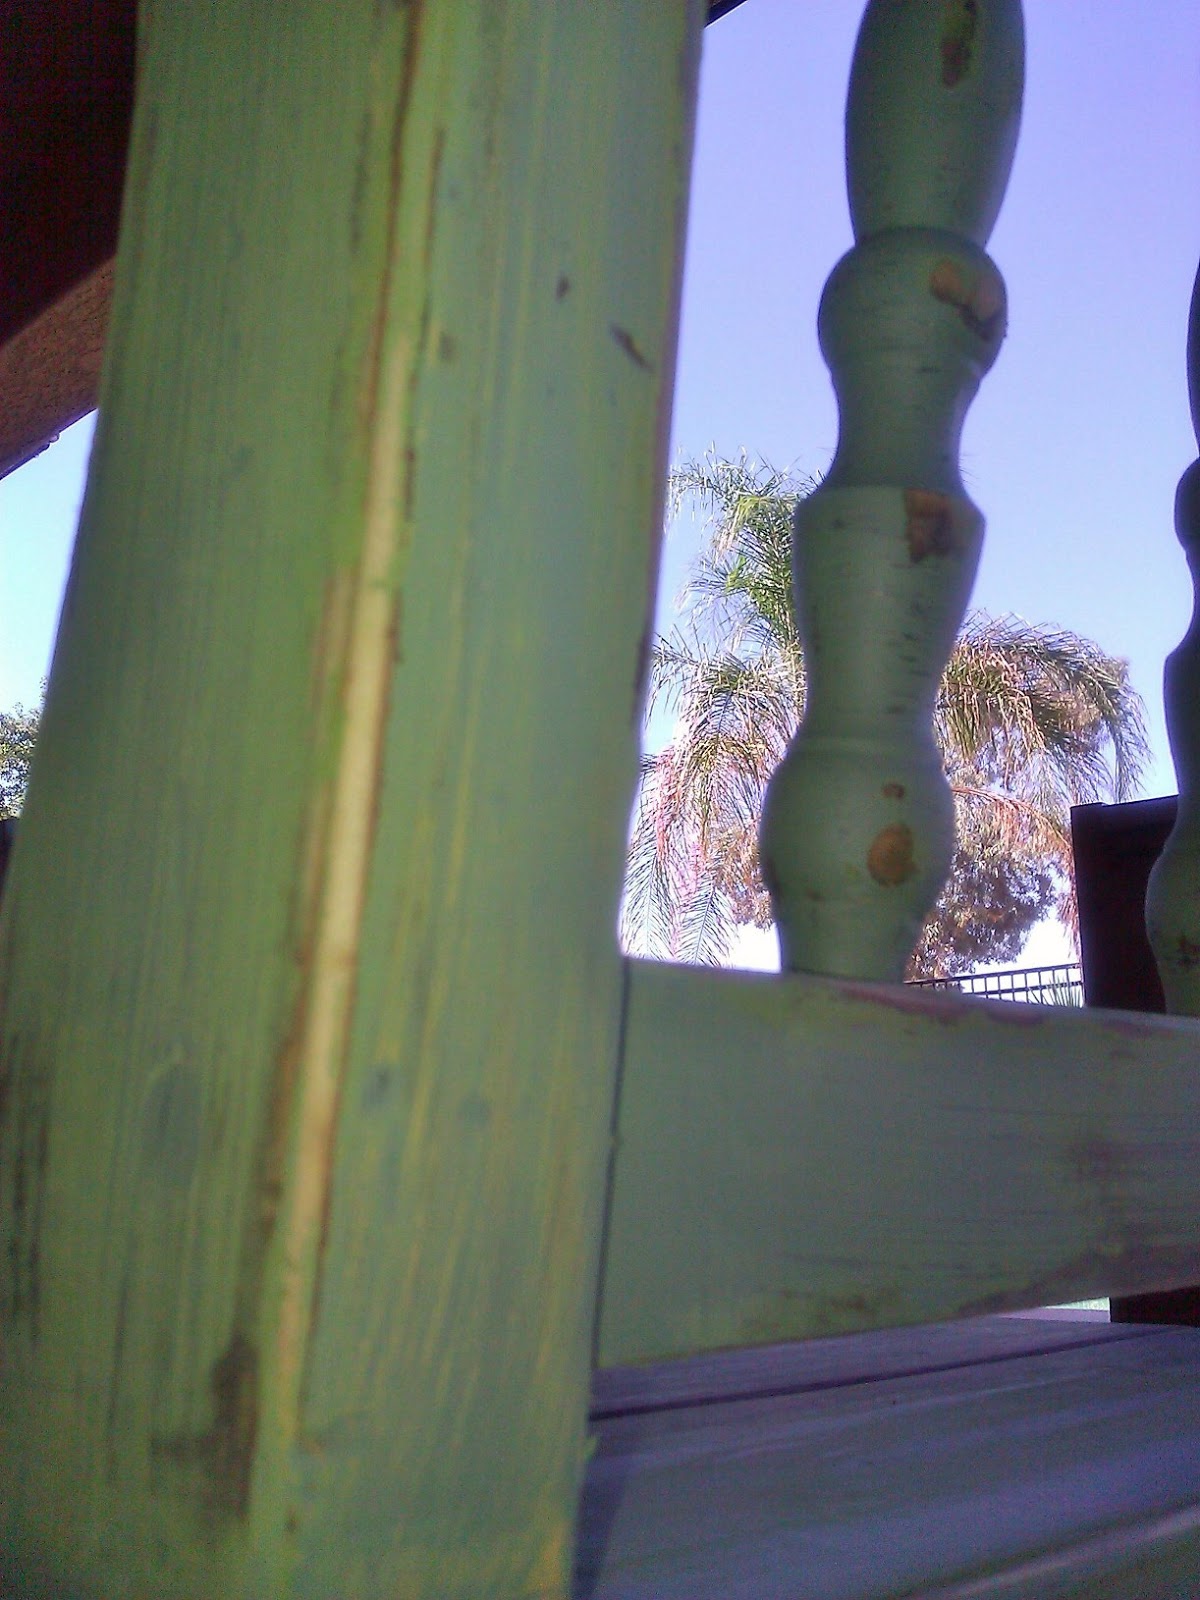
 See how the yellow shows through in some places?
Just what I wanted...
After this, I applied a little bit of stain over the sanded areas with a brush, and wiped it off immediately after.
 A little dry brushing with stain in the corners makes it look nice and old.
AND....VOILA!  My new table,  chairs and bench!

I know...I really have to work on my photography skills....and staging!


 I  love how this turned out. 

 A layer of Min Wax Polycrylic sealer was the last step,to protect this little set for many years to come. 


 Let me know what you think, and
Happy Thrifting!

Love,
Suzanne.


Linking up to these parties:
Metamorphosis Monday
Feathered-nest-friday

DIY Show Off

Thursday, September 20, 2012

From Toy Chest to Shipping Crate

Hi Everyone!
I have heard and seen of shipping crates being turned into toy chests, but not the other way around...yet that is what I did with this ordinary, run of the mill chest I got on Craigslist.


I remembered to take the "Before" after sanding and stripping off the layers of thick, enamel brown and beige paint. The sides are MDF, and the top and ends are pine.
I roughed it up with some screws, a hammer, and even took a firelighter to it in some places...lol!


Then I applied some ebony colored glaze. I did not have anything else, and I was too impatient to make the steel wool in vinegar mix, which has to soak for at least 24 hours. There are many tutorials on how to do that, but here is a link to one. I was going for the look of old cedar. The pine part turned out pretty good, but the MDF was a different story....

I ended up painting this part red...just could not get it to look right.
I then dry brushed some more red on the other parts, too, just so it would look like it fit.


I found old vintage magazine ads of Pfluegers, a fishing tackle and equipment company, on line,  printed it out, and decoupaged it to the side. The writing was done free hand, from an example I found when searching for "shipping crates" images.


I don't know if you noticed, but I tried to make the corner strips look like metal. Painted it silver, and screwed some screws in. On one side I stenciled "THIS END UP" ,
 and on the other side I decoupaged a sign that says "HANDLE WITH CARE" .
I also drilled some holes and made handles out of rope for a more authentic look. (or so I thought, anyway)

I distressed the edges and sanded the  chest all over a few times during the process.
Also applied and wiped off the same ebony colored glaze  a few times. I just played until I got the look I liked. The decoupaged parts were sanded pretty heavily to make it look really old.


This is what the back looks like. Some random stenciling, and another sign decoupaged on.

O yes, and see the little stamp in the right corner? It says "product of the USA". I just used a plate as a template en drew it on with a thin brush. The words were just done freehand.

Well, I had a lot of fun doing this, and I can just see it in a boy's room with a fishing theme, or even as a rustic kind of coffee table in a TV room. 

What do you think?


Until next time, 
happy thrifting!

Saturday, January 28, 2012

Fun Bench...just for fun!

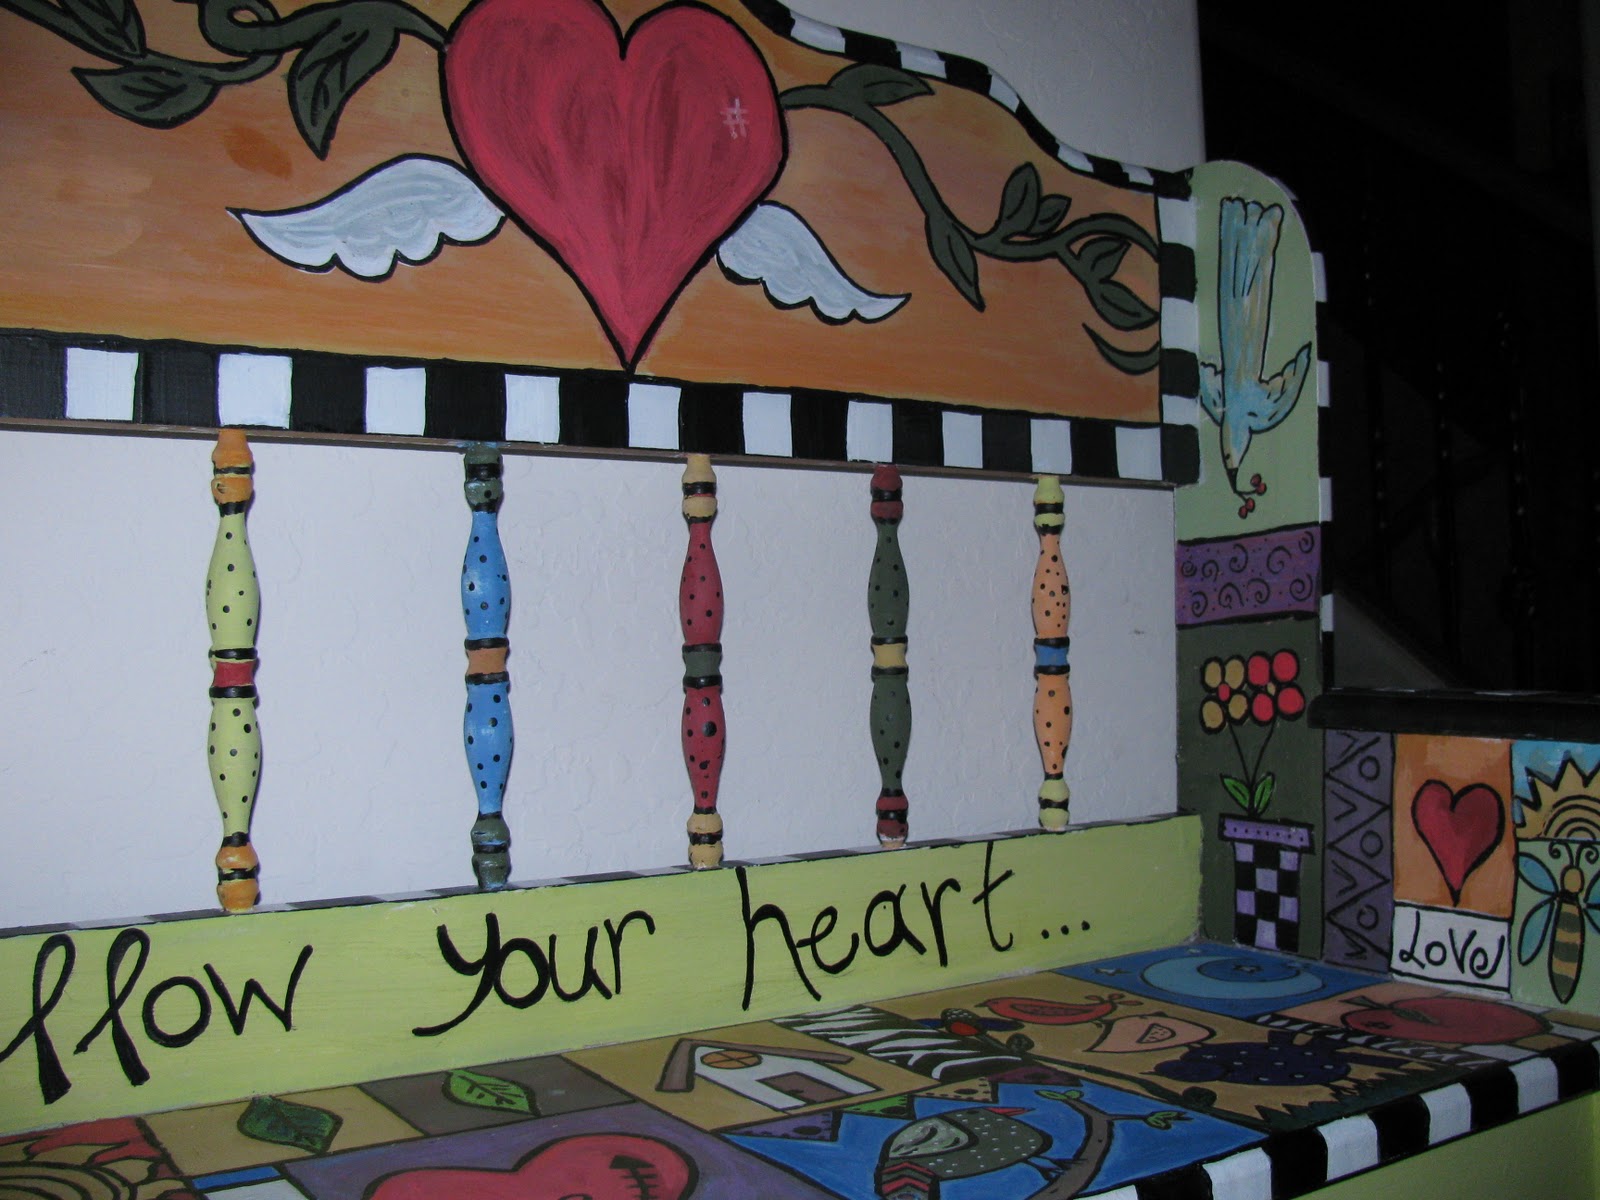
I bought a cute little bench at a garage sale a few years back. Since then, it has occupied many different rooms and played many different roles in our house. First it was used in my daughter's bedroom to hold all of her different soft toys....

Then I moved it to my guest bathroom, where I thought it fit perfectly....just to look pretty and maybe hold the occasional item of clothing while someone was taking a shower...

One day I decided to paint it, and moved it outside to the patio, where the poor thing resided, half-way primed, for a whole year!
I am surprised it survived the elements all that time. Must be of good "stock"!

Last week, I decided to tackle this brave little bench again. I was itching to do something resembling "Sticks furniture".
I have LOVED Sticks Furniture since the first day I saw it about 8 years ago. I did not know who or what it was, but I WANTED it! Unfortunately I could not afford to pay $3000.00 and up for any piece of furniture, so it remained an unrequited love affair.
Until I started painting old thrift store furniture and realized I might even try my hand at something like that one day!
Well, the day has arrived! And I had tons of fun doing it!

I removed the original embellishment, and was going to glue a wooden heart there, but ended up just painting one on.

 I wrote: Follow your heart....but take your head with you..


 I used any and all the paint I could find in my stash. The lines were done with Sharpies and paint pens.


 I think this can be used in a child's room, or playroom, or even as an unexpected accent piece in any decor. I am sure it will also look very cute on either a back or front patio, too.

What do you think?

Suzanne


Joining all these parties