
Hi Again..
Remember the "before" picture I showed you in my previous post? A "Preview of Coming Attractions" of sorts? Of course you do, you clever so-and so.
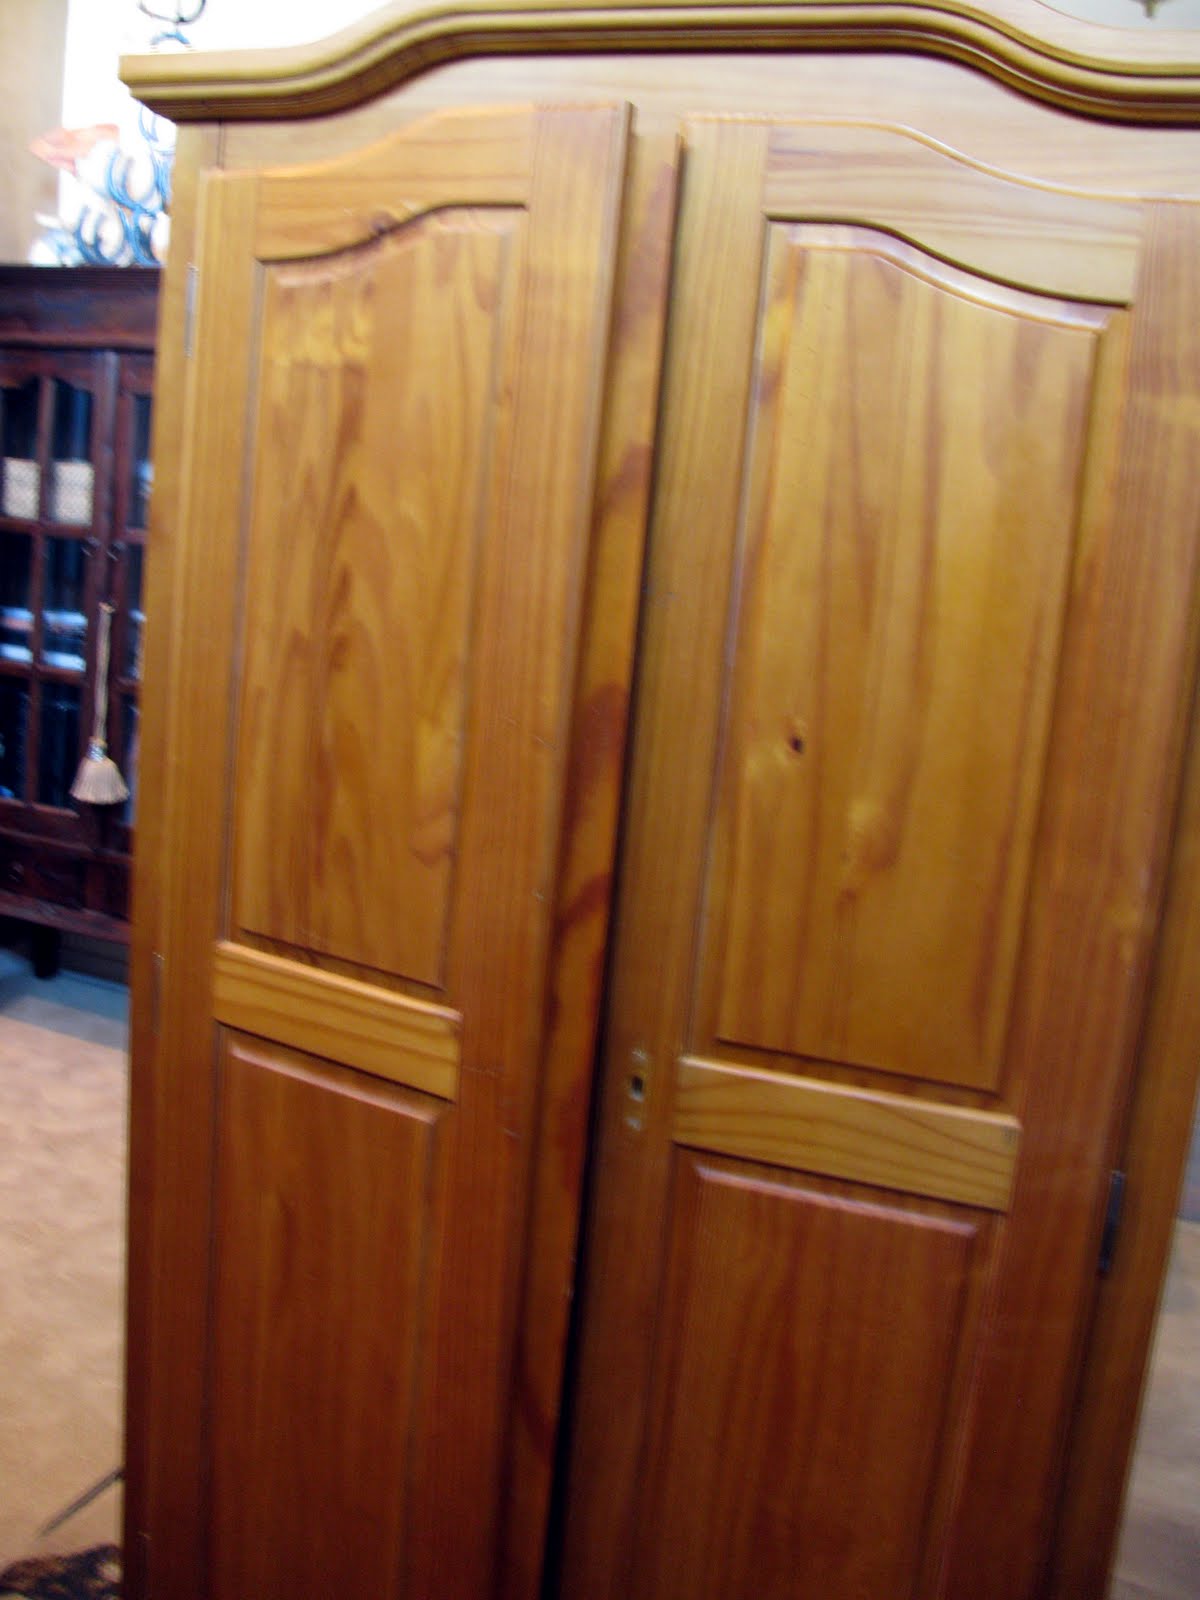
But just in case you wanted to see it again, here it is...
The lock was broken, and the doors would not stay closed.That was fixed easily enough by a trip to Ace Hardware. I did not worry about the lock. Just pried it off and filled the hole with wood filler.

I decided to try the Glidden 2 in 1 Paint and Primer , in black. After usinng the Cabinet Transformations kit in my previous post , I wondered how a regular deglosser off the shelf would work instead of sanding.
I think it worked fine , but I don't think I will do it again. I still feel a light sanding is better.

So, after two coats of black paint, a black glaze and some sanding to distress, this is what it looks like.


I really liked the french writing I have been seeing on quite a few blogs now, and wanted to incorporate it in this project.The door panels were so narrow, I couldn't do a decent design on them, plus , wouldn't it have looked funny to have it repeated four times?

I remembered that I still had wall paper with french writing on.
I think it worked great..

I also sanded and glazed the paper a little bit, to give it an older look.

Did you notice thehandles? I bought them a year back at the Habitat Restore.

One last look:
Before..

After

Hope you like it, too!

Love the doors, they are extra fabulous with a little distressing! Great job!!
ReplyDeleteSUZANNE! You outdid yourself girl! I absolutely LOVE it- What a great job. I love the wall paper inserts too-they are the perfect finishing touch.
ReplyDeleteI'll bet it is even more beautiful in person-xo Diana
Great job. I love it!
ReplyDeleteI am so impressed with this transformation. I love how you added the frenchy wallpaper. It doesn't even look like the same piece. Awesome!
ReplyDeleteADORE.
ReplyDelete