Showing posts with label repurpose. Show all posts

Tuesday, October 7, 2014

Locker Mania


Oh, Goodwill! Just when I'm ready to break up with you , you surprise me with something cool..

I have been a smidge irritated with Goodwill for months now. It seems "they" got wind of the whole "refinishing crappy furniture to look cool again" trend, and "they" have been hiking their prices up so much that I hardly went there anymore.

Lucky for me ( and "them"... I used to be a frequent customer, after all),  my daughter started going for Occupational Therapy at a therapist right behind a Goodwill. So what's a girl to do when she's checked her e-mail  and Facebook  and Pinterest and Offer Up  and Craigslist , and it's still more than half an hour before her child gets done at the OT?  Go browse in Goodwill, of course.

I have been drooling over the industrial style lockers on Pinterest, but whenever I saw any on Craigslist or OfferUp, they were way more than what I was willing to pay. So, great was my excitement when I saw this cabinet there!


I know, it doesn't come close to a real locker, but I was convinced I could work with it. Especially when I saw the price! $14.99 , plus I had my 20% off coupon! SOLD to me!!!

When I got home I soon realized that I would need a lot of paint stripper. The top layer boring white paint was just regular paint, but the original paint was almost like plastic..yuck!

Luckily I was not planning on stripping all of the paint off. The idea was to leave some on, for the layers of peeling paint look.


I recently discovered that Jo-Anne's and Michaels also stock chalk paint.
I got this one at Michaels for $9.99 less 50% with my coupon. Score!!


I painted it on unevenly, with some of the nice, rusted steel parts and some white paint still showing. Sanding with 150 grit sandpaper and applying this wax, gave it a smooth, silky feel.
               
                                                                                     .


I love how it turned out!
Oh ya! And check out the numbers on the "locker " doors!


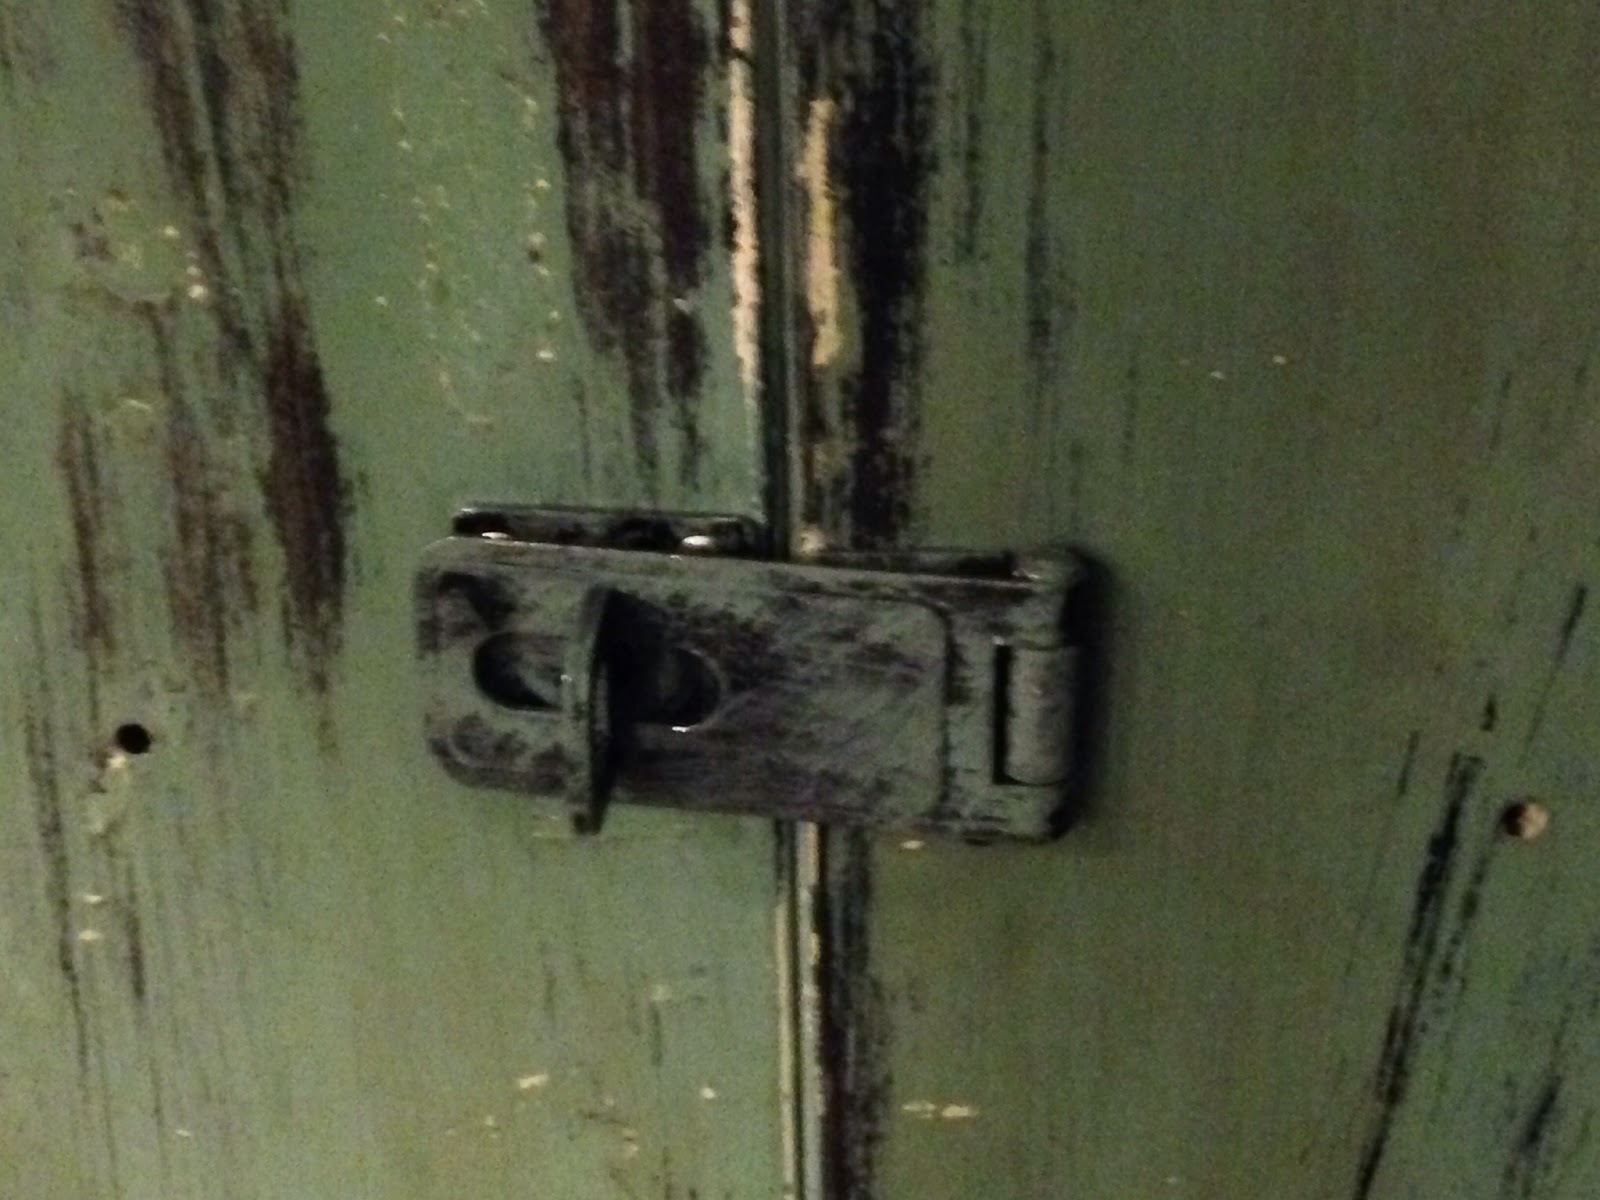
I also replaced the boring hardware with this . Just a very shiny lock thingy from Lowe's, spray painted black and then painted over with the same paint I used on the cabinet. I didn't worry about the two extra holes from the old hardware. I think it adds to the industrial look.


Had to enlist Hubby's help to add metal castors (ordered on Amazon) at the bottom.


I was at first planning on selling this , but now, of course, I can't get myself to part with it.
For the time being, it will serve as my liquor cabinet...


What do you think? Any other ideas for where to use it?


                                                            Love,


Sunday, February 23, 2014

Our New Backyard: Outdoor Kitchen Counter

Hi Everyone!
One of the excuses I have for not blogging for so long, is that we bought a brand new house in September 2013. We have been moving in and getting settled for 4 months now. With my birthday, Thanksgiving, Christmas, New Year, etc., we have had a lot of interruptions, but we are slowly getting there..
 
Today I want to show off our DIY outdoor kitchen and the awesome light Hubby made to go with it.
 
We bought , shall we call it a shell for lack of a better word, for the counter area. Craigslist. It is made out of polystyrene, covered with cement,  hollow inside, and looked like this;


We could cut openings  where we wanted them, and put on a finish we liked.
So, my husband and one of his friends ,Lou, cut two squares in front, for cupboard doors,  and a square on the top left of the counter for the charcoal BBQ to go in.
 
Lou and Ann are our friends from San Jose, CA, who came to visit for the weekend of my birthday. Boy, did we put them to work! LOL! No, seriously, they were a great help. They might never visit us again, but I'm glad they were here to help us. Lou built the frame and poured the cement for the floor during Thursday while Niel was still at work, and Ann helped with the planting. ( A lot). 
  Ann, in our bare backyard.
  Lou, making the floor by flashlight! 
  Haha! He thought he could stop because it was dark, but Ann and I grabbed the flashlights and put him back to work!


On Friday, Niel and Lou built the cupboard doors, and lay the tiles on the counter.
 

My birthday party was on the Saturday, and we could use our new "kitchen" for the first time!

It wasn't done, but we loved it. 


I have the perfect door handles for these doors, but since it's Niel's project, I guess I will have to nag him wait until he warms to my idea. Looking at this picture, I realize I will have to age the hinges. They are way too shiny!
We both agree that the doors need to be stained a much darker brown. (Yay!)


I had several ideas for the finish, but in the end I went with the quickest, most affordable option;  I painted it with Modern Masters' rust paint to look like rusted metal. I talked about the product here.
 It is still a work in progress, but here are some more pics....
 
Notice the plug? Yep, they even did that, too. No need to get nervous for my sake...Lou used to be an electrician , so he could make sure we did not blow something up in the process.  :)

  I need to find some way to make the edges more finished; I thought of corner steel or wood painted to look like steel....not sure. Any ideas?


We found  the old railway tie many years ago , abruptly brought it home, then had no idea where to use it. Now it works perfectly as a footrest!
 
 Notice the brand new gas barbeque? Hubby jokingly said he bought it for me for my birthday. So I've decided to jokingly give him a boob lift for his birthday! Ha!

                           I got the Barstools  off of Craigslist too.
 

 I love that it even still had some kind of metal tag on it, too. It did not come with the bird poop. That is courtesy of the Crackels , who, for some reason, love my bar!
 
I know...the wood needs something...either darker stain, or metal rust, too.
 
 
Notice the lamp/ tree at the end of the bar? I'll tell you about it:
Hubby said he had an idea of what he wanted to do for a light at the bar and barbecue. I have to admit, when he explained it, I was not overly excited. I could not picture it.
 
He found an old dead tree stump in a dry riverbed ( does Arizona have any other kind? ) near our house. With a dremmel he made a small groove in the stump, to hide the electrical cord. See? It looks just like a crack in the wood.


 He also planted the piece of stump in cement, to make sure it is sturdy.
 
 
Then he used one of my thrift store lanterns that was supposed to hold a tea light candle.
 
With the light kit from another old , soon to be discarded light, voila! We now have an awesome, homemade, rustic, looks like we are camping, but most importantly FREE outside light at our bar!


I LOVE it! It is most probably my favorite part of the bar!


Notice the "bug" flying  in the top picture?
It is actually a humming bird. We have a feeder right there at the window, and love watching them drink while we drink. Hah!


This has become our favorite spot to hang out. Even when its just hubby and me. He sits behind the counter, close to the little bar fridge behind one of the wooden doors, and I sit, or hang, like a regular bar fly on the counter!
 
Gorgeous Arizona sunset! 
 
Until next time, have a great week!
 
 
Bye for Now!


Joining these parties:


Thursday, September 20, 2012

From Toy Chest to Shipping Crate

Hi Everyone!
I have heard and seen of shipping crates being turned into toy chests, but not the other way around...yet that is what I did with this ordinary, run of the mill chest I got on Craigslist.


I remembered to take the "Before" after sanding and stripping off the layers of thick, enamel brown and beige paint. The sides are MDF, and the top and ends are pine.
I roughed it up with some screws, a hammer, and even took a firelighter to it in some places...lol!


Then I applied some ebony colored glaze. I did not have anything else, and I was too impatient to make the steel wool in vinegar mix, which has to soak for at least 24 hours. There are many tutorials on how to do that, but here is a link to one. I was going for the look of old cedar. The pine part turned out pretty good, but the MDF was a different story....

I ended up painting this part red...just could not get it to look right.
I then dry brushed some more red on the other parts, too, just so it would look like it fit.


I found old vintage magazine ads of Pfluegers, a fishing tackle and equipment company, on line,  printed it out, and decoupaged it to the side. The writing was done free hand, from an example I found when searching for "shipping crates" images.


I don't know if you noticed, but I tried to make the corner strips look like metal. Painted it silver, and screwed some screws in. On one side I stenciled "THIS END UP" ,
 and on the other side I decoupaged a sign that says "HANDLE WITH CARE" .
I also drilled some holes and made handles out of rope for a more authentic look. (or so I thought, anyway)

I distressed the edges and sanded the  chest all over a few times during the process.
Also applied and wiped off the same ebony colored glaze  a few times. I just played until I got the look I liked. The decoupaged parts were sanded pretty heavily to make it look really old.


This is what the back looks like. Some random stenciling, and another sign decoupaged on.

O yes, and see the little stamp in the right corner? It says "product of the USA". I just used a plate as a template en drew it on with a thin brush. The words were just done freehand.

Well, I had a lot of fun doing this, and I can just see it in a boy's room with a fishing theme, or even as a rustic kind of coffee table in a TV room. 

What do you think?


Until next time, 
happy thrifting!

Sunday, August 19, 2012

Summer Projects:

Hi Everyone!

I know I have been MIA for a while now, but I have a good reason. I visited my home country and family in South Africa. For ten whole weeks! That's right, 10! But just in case you thought I just sat on my behind and sipped wine, you are wrong...
Some days I sat on my behind and sipped wine, and other days I transformed furniture and sipped wine.... so there!
Yep! My sisters made me earn my keep... (but you know I did not complain about saving old, neglected furniture from the dump!)

Look at this piece for instance: was once a built in kitchen cabinet, then stuck in the laundry, and eventually in the garage, where, as you can see, it had been used as a handyman table.

Old Built in Transformed to house a Stereo


My sister needed a place for one of her twin 16 year old sons' stereo, so we went to work on it. I liked the look of the sanded wood on top, so we just sanded it thoroughly (with NO palm sander available, I might add), and waxed it. We painted the body with homemade black chalk paint, and wiped a little brown stain over it, to give some depth to the mat black color.  After distressing the edges, and  adding wheels and funky hardware, this piece was transformed into a very cool, industrial look entertainment center any teenage boy can be proud of.

Don't you agree? And yes, I know the handles are different sizes. And no, it was not on purpose, OK? After we had drilled the holes and attached them, we stood back proudly to view our handy work, and  broke out in hysterical giggles when we realized our  mistake....
Then we decided to just pretend it was meant to be that way.


Old Bathroom Cabinet transformed
This little cabinet was brought home from the farm, and was stuck in storage for forever.
We had specific  plans for it, but it knew better....


When we started to sand it down, all these lovely layers, added through the years, were uncovered.
Then we realized that the door was not real wood, but supa wood...and, soon after, while I was sanding my heart out, the door fell open, slammed on the ground, and the mirror broke. This is when we decided to just go ahead and take the door off.

The lovely blue color on the inside, was left just as is...

..and just check out all the wonderful old layers...blue, green, yellow and white.
We did not bring a paintbrush near it..this look was achieved just by sanding!

It is going up as a shelf in her powder room.
Love it!

See ya soon with more Summer projects!