Showing posts with label dresser. Show all posts

Tuesday, February 5, 2013

Breakfast at Tiffany's

Hi There!
Well, its about time I share the long promised "Breakfast at Tiffany's" dresser...
I saw the little dresser at Goodwill one day, and fell in love with the shape. I knew exactly what I was going to do with it! There was just one smelly problem....it smelled bad! Really bad. I don't know if it was just smoke, or a combination of dampness and smoke, but that smell would not leave...
I took out all the drawers, sprayed it with bleach water, left it in the sun for more than a month, but no improvement. I tried baking soda, vanilla essence, more bleach, more sun, more spraying with the hose...still stank to high heaven.
So, I decided to just try Kilz primer...painted on, not sprayed. It worked! Not a smell ... yay for Kilz!!!
Ater priming, I painted with a sort of seafoam blue I had, and then used my projector to project an image of Audrey Hepburn onto it. The rest was filled in with small brushes and black and grey paint..


Ta Da!!!!

I love love love this look! But I have a confession to make...
It was not my original idea ...I stole this from Deneen at Dreaming in Color . Only she is a real artist, and did not need a projector.
But ever since I saw her sweet little dresser, I knew I wanted to do something like it.
She is very talented, and her blog is choc full of inspiration. Go stop by her blog and tell her I sent you...     ;-)


Do you want to have another look?


 The rounded corners looked sort of retro to me...


 I lined the drawers with wall paper I had.


Hope you liked it!
Happy Thrifting!

Suzanne
xoxo

Linking up with:
Metamorphosis Monday

http://diyshowoff.com/category/other/that-diy-party/" title="DIY Show Off">http://i899.photobucket.com/albums/ac195/Roeshel/thatdiyparty125button_zps360f71b1.jpg
" alt="DIY Show Off" style="border:none;" />Read more at http://diyshowoff.com/2013/02/10/that-diy-party-3/#T5TU8ztmkuLZw15Z.99 Keeping It Simple


Thursday, January 3, 2013

Silver Buffet

Happy New Year Everyone!
May 2013 be a wonderful year for you all. I am confident that this will be the year of goals reached, dreams come true, and resolutions kept...  
{well, two out of three won't be bad, would it? ;-) }

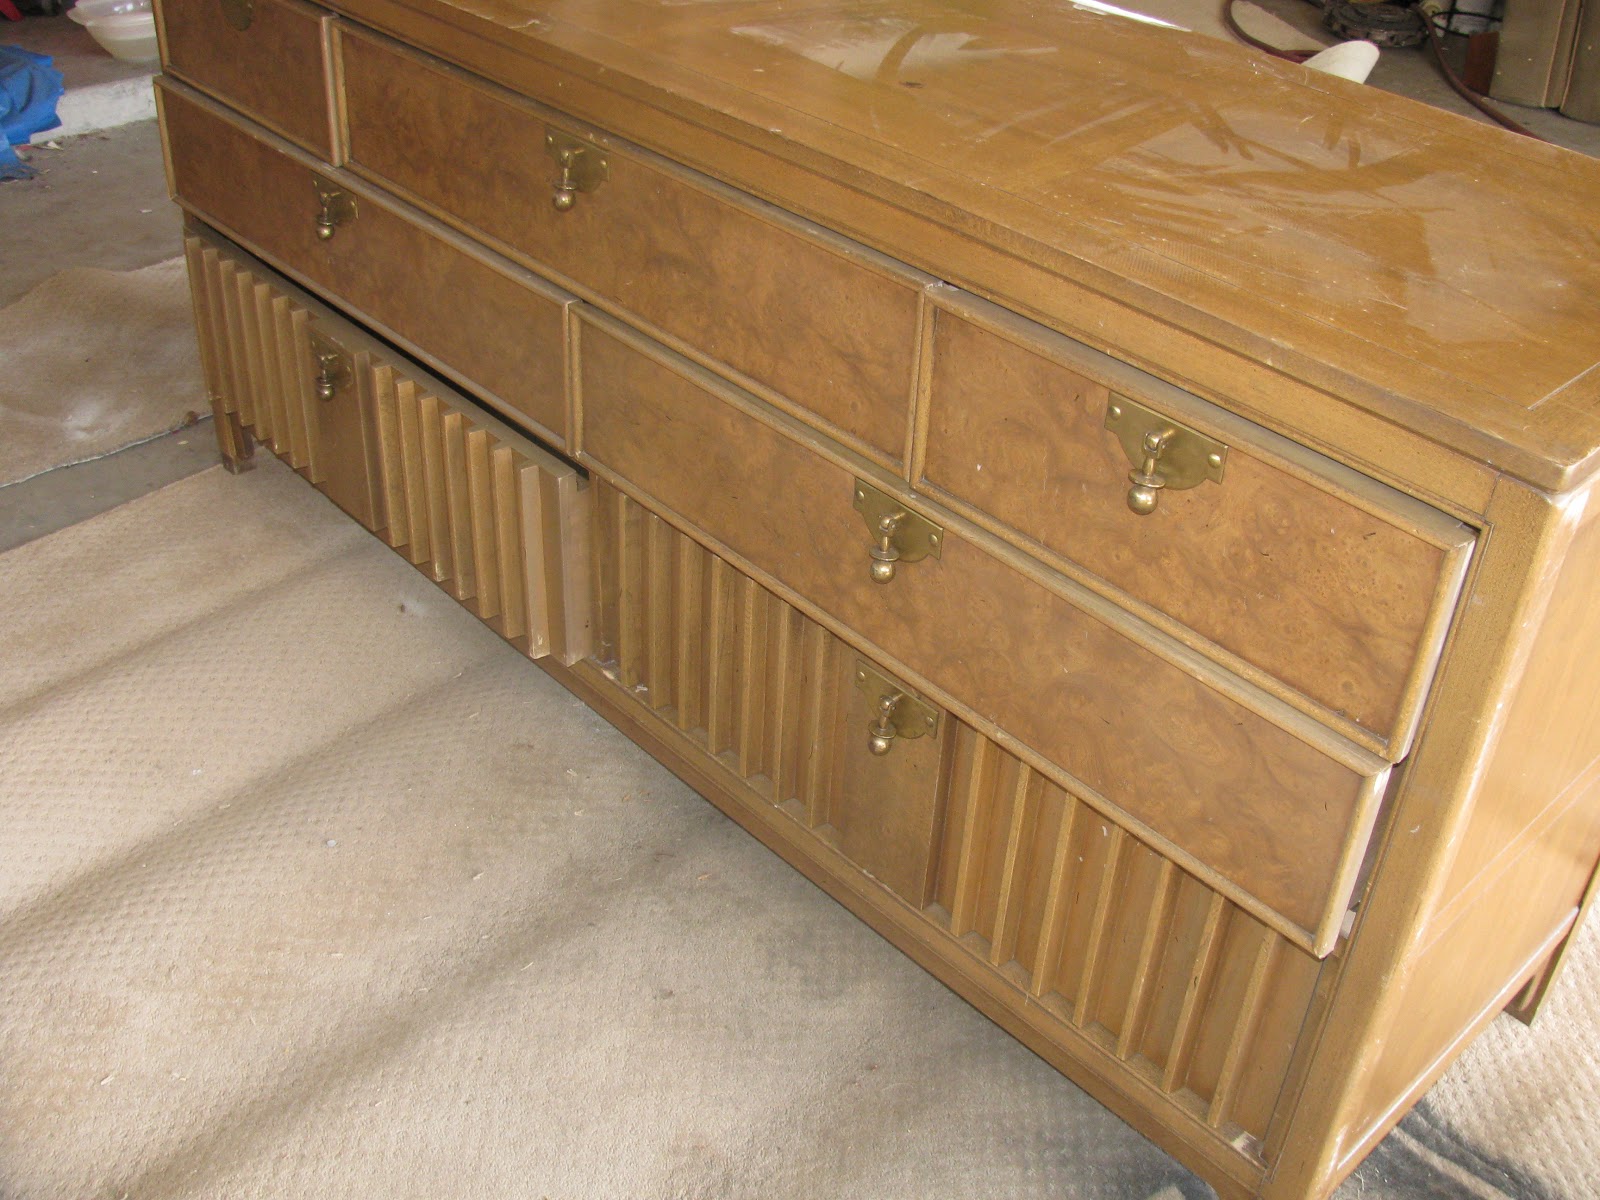
Just look at this cool piece I bought easily a year ago on Craigslist. I think it would have looked very nice just like this, but unfortunately the veneer was chipping in places. So, I did not have to debate with myself very long whether to paint or not to paint. Pshhh! As if ......


I decided to try some version of the currently popular silver/metallic/mirror furniture. Only I wanted to do the cheapest version possible, of course.  That's why I used spray paint again for the first time in a long, long while. Also because of the many small grooves on the two bottom drawers.

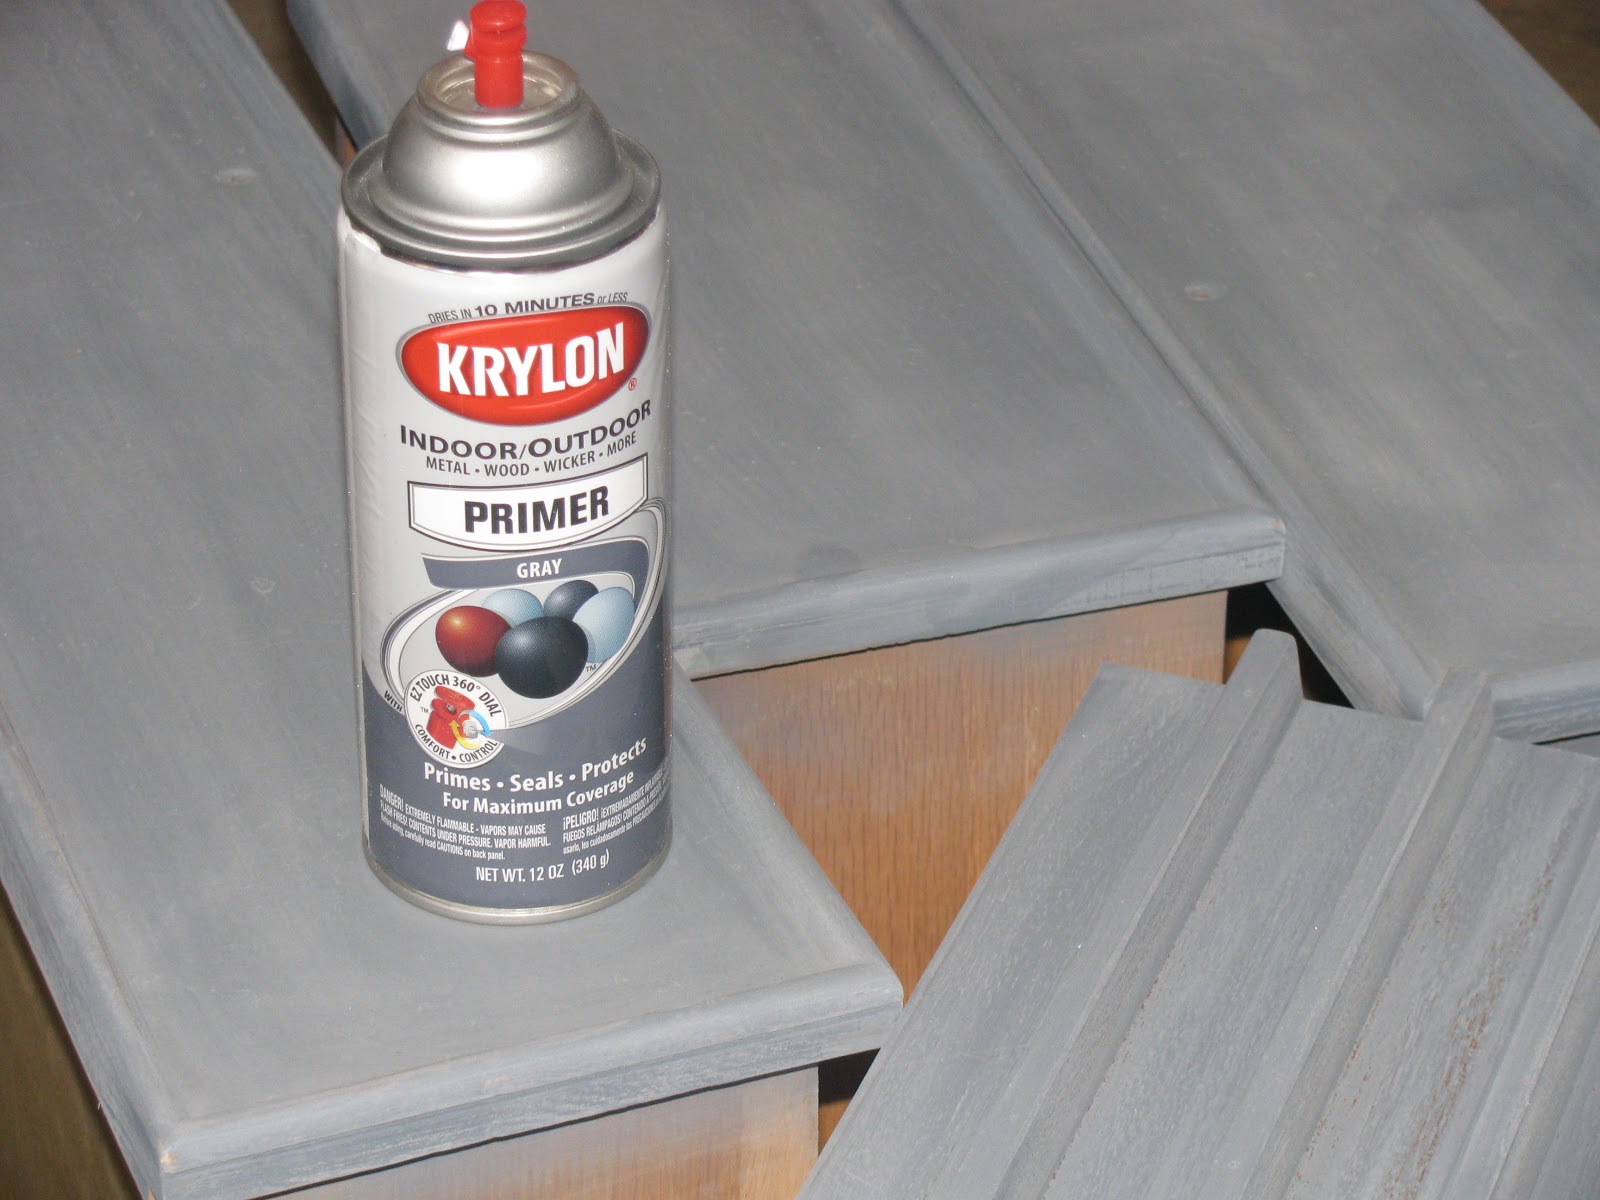
I primed with Krylon grey primer,
and sprayed with Metallic Silver.
It was very shiny....

After this I applied a little bit of charcoal glaze. You can see the difference in the picture above. The bottom drawer has not been glazed yet.

Can you guess how I got this "stencil" effect above?

I really thought that I was the clever brain behind this technique, 
but alas, of course some other clever brain apparently thought of the same thing, because I saw it on Pinterest afterwards...
In case you have not seen this before, it is spray paint over a lace tablecloth.

 Isn't it awesome?

I really liked the hardware, and even debated to leave them bronze, but decided to spray paint them black instead.

Here is the final result...

I like it, but decided to try the silver leaf next time.
I think it would have looked really nice with the very shiny surface it gives you.

But, since my offset point is Craigslist, I try to always stay within a certain price bracket.


A sweet young couple bought it a week later. I saw the couch and chair they got on Craigslist on the same day, and I'm sure it is going to look awesome in their new home.


That's it, for now, but "tune in" to see my "Breakfast at Tiffany's" dresser soon!
Happy Thrifting!
Joining:


Funky Junk's Saturday Nite Special


Friday, September 7, 2012

Summer Projects part 2

Here's some more items I transformed while on vacation in South Africa...
This is a beautiful drawer chest that my sis bought years ago from an old clothing store in town that closed down.
I encouraged her back then to get it, because it is so cool...even as is.
That's the way she kept it for years, until my visit recently , and "we" decided it needed a make-over.

She wanted the multi-layered green and red painted look, so , this is what I did.
It was so quick and easy...light sanding, no primer, and just patches of green and red paint applied with a brush. Some sanding afterwards, rubbing with a little bit of my secret ingredient (brown shoe polish...shhhhh) , and there she was...
exciting and new, and once again the focus of the room.
I love it!

Happy painting!

Love,


                                                    Joining these parties:

Funky Junk's Saturday Nite Special


Sunday, May 27, 2012

Ugly Credenza gets a Make-over

Hi There!

And so my oldest baby got married last Saturday... he looked so handsome and grown-up! This is a picture of me and him,

 and this one of him and his beautiful bride. It was a really private and sweet ceremony.
I know they will be happy and successful.


Today I am sharing with you my most favorite of projects so far... or do I say that every time? I guess that means I love what I do, right?
I bought this credenza, or buffet, on craigslist, looking very sad with a "most unfortunate" paint job...
But, I loved its lines, and only learned after that this is typical a mid-century piece.

It stayed at my front door for quite some time, waiting its turn to get an "extreme make-over".
Of course I forgot to take a before picture.....( have decided to take pics of the pieces as I purchase them, so as not to have this "particular" problem again...We'll see how that goes...)

At least I can show you what the two discarded drawers looked like...and that is a pretty good indication of the state of the rest of the piece. Bad, gloss black paint finish, with drip marks and peeling paint (not the nice kind, either) everywhere. These two drawers did not fit snugly, as a result of some swelling, or slight warping? I don't know, but they seemed too big for the space.
So, thanks to many other bloggers before me who have paved the way, I knew that I could just leave them out, and turn the empty spaces into shelves.

I had a completely different plan for this piece, but when I started sanding and saw the beautiful wood tone underneath , I changed my mind. (I think its actually just really thick veneer, but it still had a lovely warm tone.)

The doors had a sweet little black line in the wood, which I thought deserved a second chance to shine. So I sanded them down, and stained them a beautiful warm tone. Along with new hardware, they look awesome, don't you think?
I did the same with the top, but then painted a checkered black and wood pattern on it.


The drawers got a reverse stencil of 1,2,3, with numbers I printed off the computer, cut out, and sprayed with spray on glue.


The shelves on the bottom are now ideal for a DVR, or displaying of your favorite crockery.
I took this one to our booth at Armadillo Antique mall, Goodyear, and it sold within 24 hours!
I would have liked to keep it myself, too!
Now I have to get painting to get stuff in the booth before I leave for South Africa for two whole months.....    


                  Love,                           


Monday, January 16, 2012

French Label Dresser


Hi! Hello! And Happy New Year to All! I hope everyone had a wonderful festive season, and that all the new years resolutions are still in tact..

I'm just going to skip right ahead and show you my latest project...

I found this beauty at my local Goodwill....is it just me, or is she beautiful ?
If I wasn't such a paint freak, I probably would have liked her just as she was....or maybe not...
Anyway, there is a stamp on that says Italian Marquee by Kent Coffey.
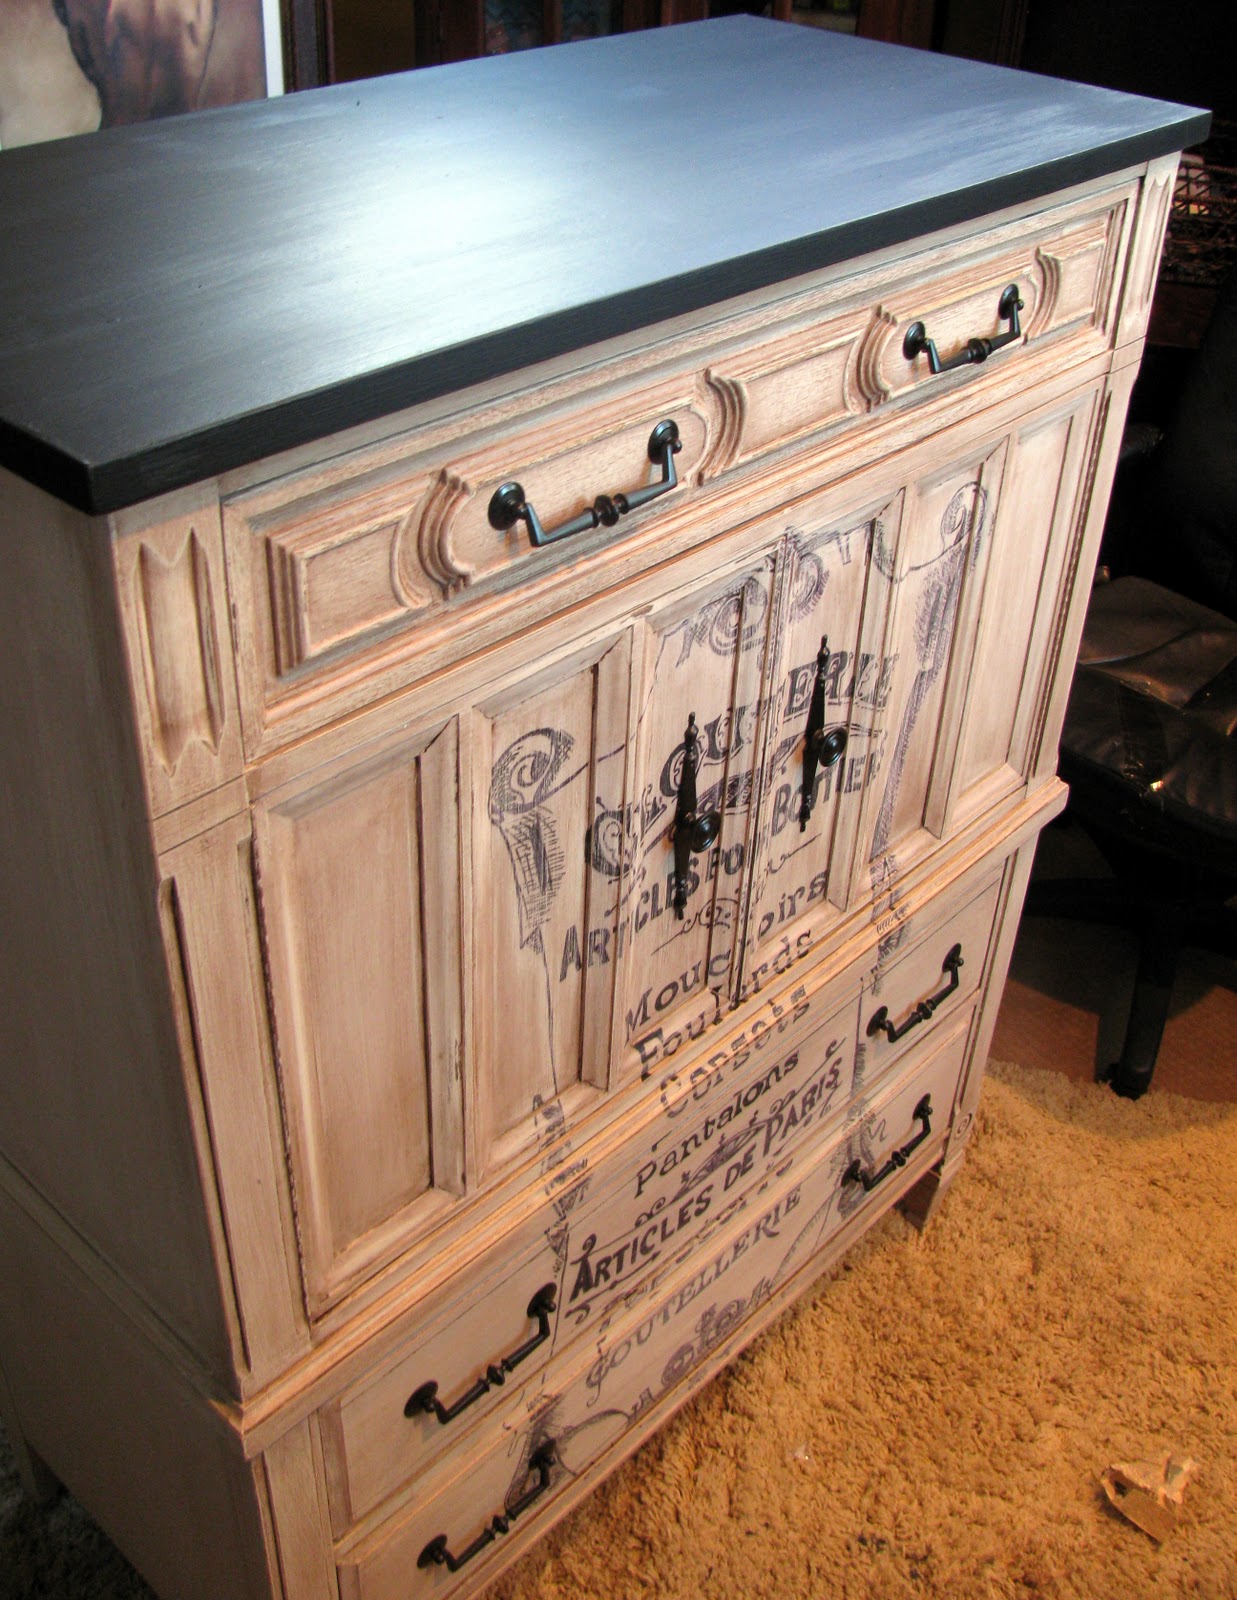
So, in the wake of all the nice French lettering and labels, etc I have been seeing on blogs lately, I just had to go visit The Graphics Fairy to find a nice french label or something to put on this dame.


This is what I came up with.

This is my third piece I have done with homemade chalk paint, and I LOVE it! 
I use 1/3 plaster of paris and 2/3 paint...and it works wonderfully! No sanding or priming...really!
The finish is a little course, and if you want a smooth finish, you would probably have to sand with fine sandpaper between coats as well as after, but I liked the look, since it was supposed to look worn and a little chipped.
So, after two coats of homemade chalk paint, I had to wait for night time, so I could use my new handy dandy little Tracer art projector.
I printed a small, (5"x5") copy of the label on Graphic Fairie's blog, put it under the projector, and started tracing the lines with a sharpie. I went over it afterwards with a paint pen, but apparently you don't even have to do that...the sharpie will stay put.


Once the ink dried, I applied a brown tinted glaze, and wiped off, to get the above effect.
Then a little sanding and distressing. 

I used the original hardware, because I liked it, and just sprayed with Oil Rubbed bronze.
 With the hardware on, I thought that painting the top black would look much nicer, and I think I was right! Don't you agree? As a finishing coat I applied two layers of Minwax Finishing Wax..just the clear. It gives the piece a nice, satin sheen.

I'm very happy with how this turned out, and can't wait to use my little Tracer again! What will it be next? 
The child bench, the bulky dresser, or the telephone table?  Hmmm.....Stay tuned! 


Love,
Suzanne

Linking up to these and other parties:
<div align="center"><a 
href="http://micheleravendesigns.blogspot.com/" title="{Primp}" 
target="_blank"><img 
src="http://i4.photobucket.com/albums/y103/amycarver3/primpbutton2.jpg" 
alt="{Primp}" style="border:none;" 
/></a></div>